Create a Cognito User Pool
Our notes app needs to handle user accounts and authentication in a secure and reliable way. To do this we are going to use Amazon Cognito.
Amazon Cognito User Pool makes it easy for developers to add sign-up and sign-in functionality to web and mobile applications. It serves as your own identity provider to maintain a user directory. It supports user registration and sign-in, as well as provisioning identity tokens for signed-in users.
In this chapter, we are going to create a User Pool for our notes app.
Create User Pool
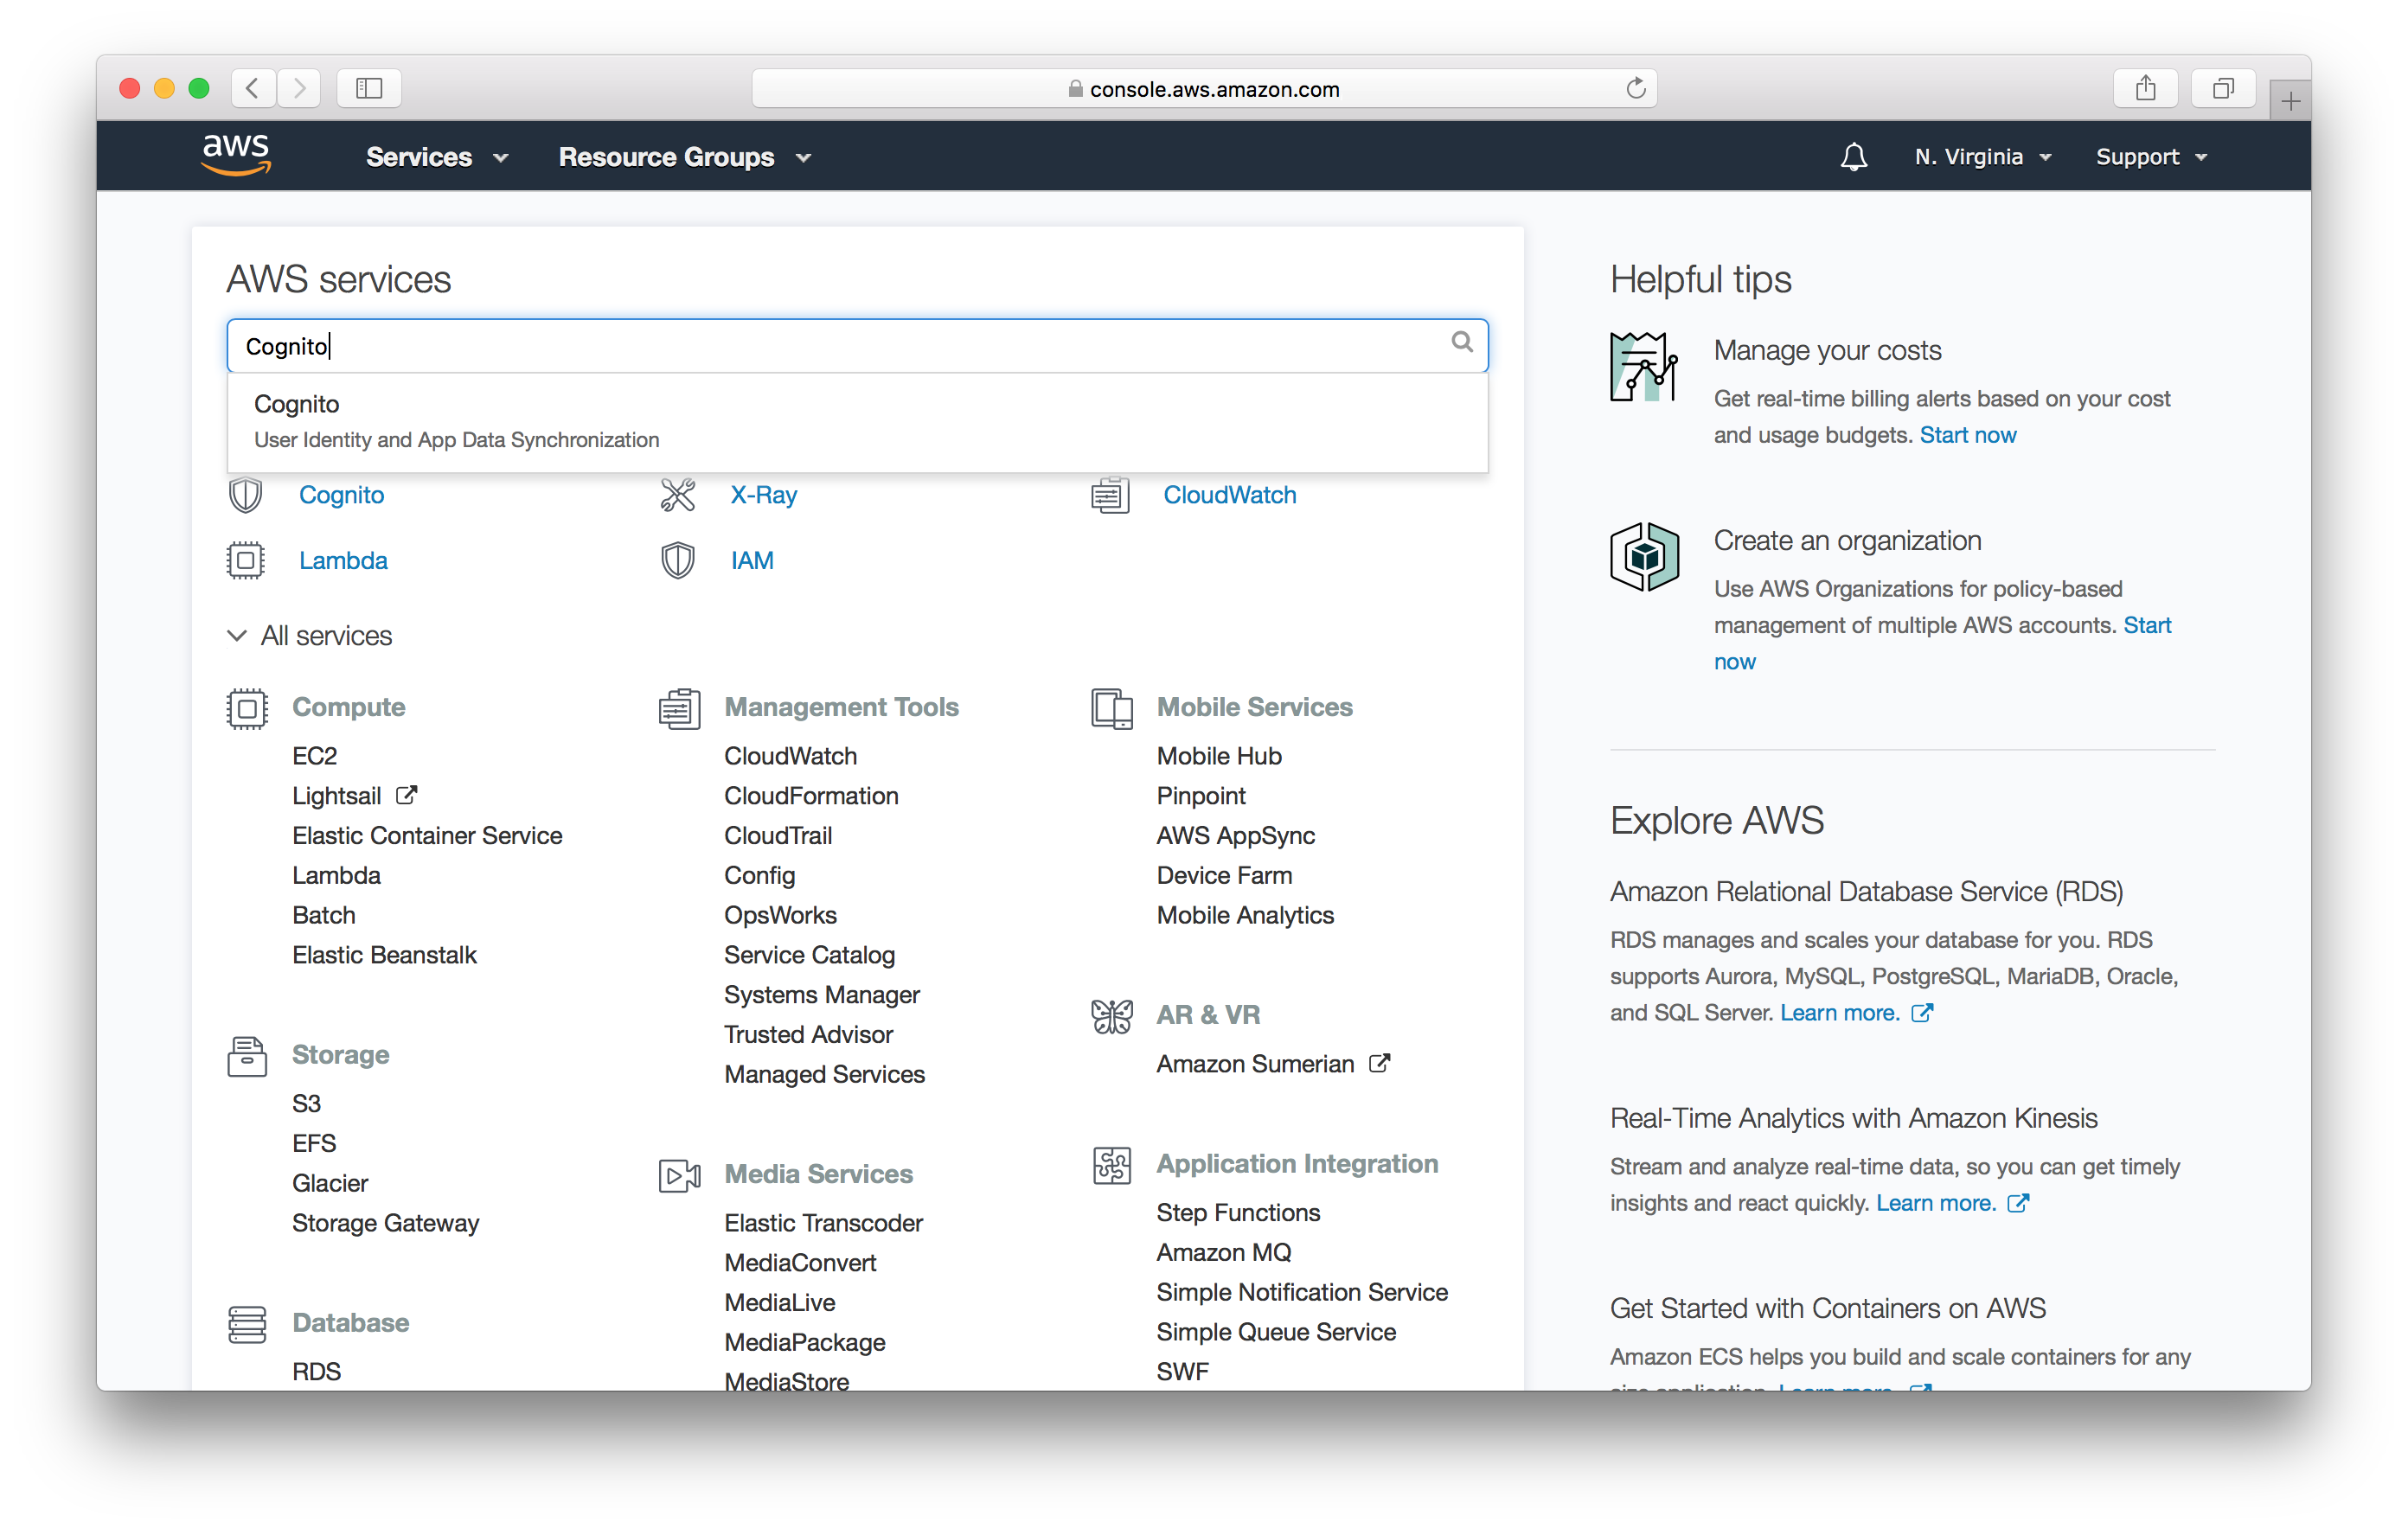
From your AWS Console, select Cognito from the list of services.
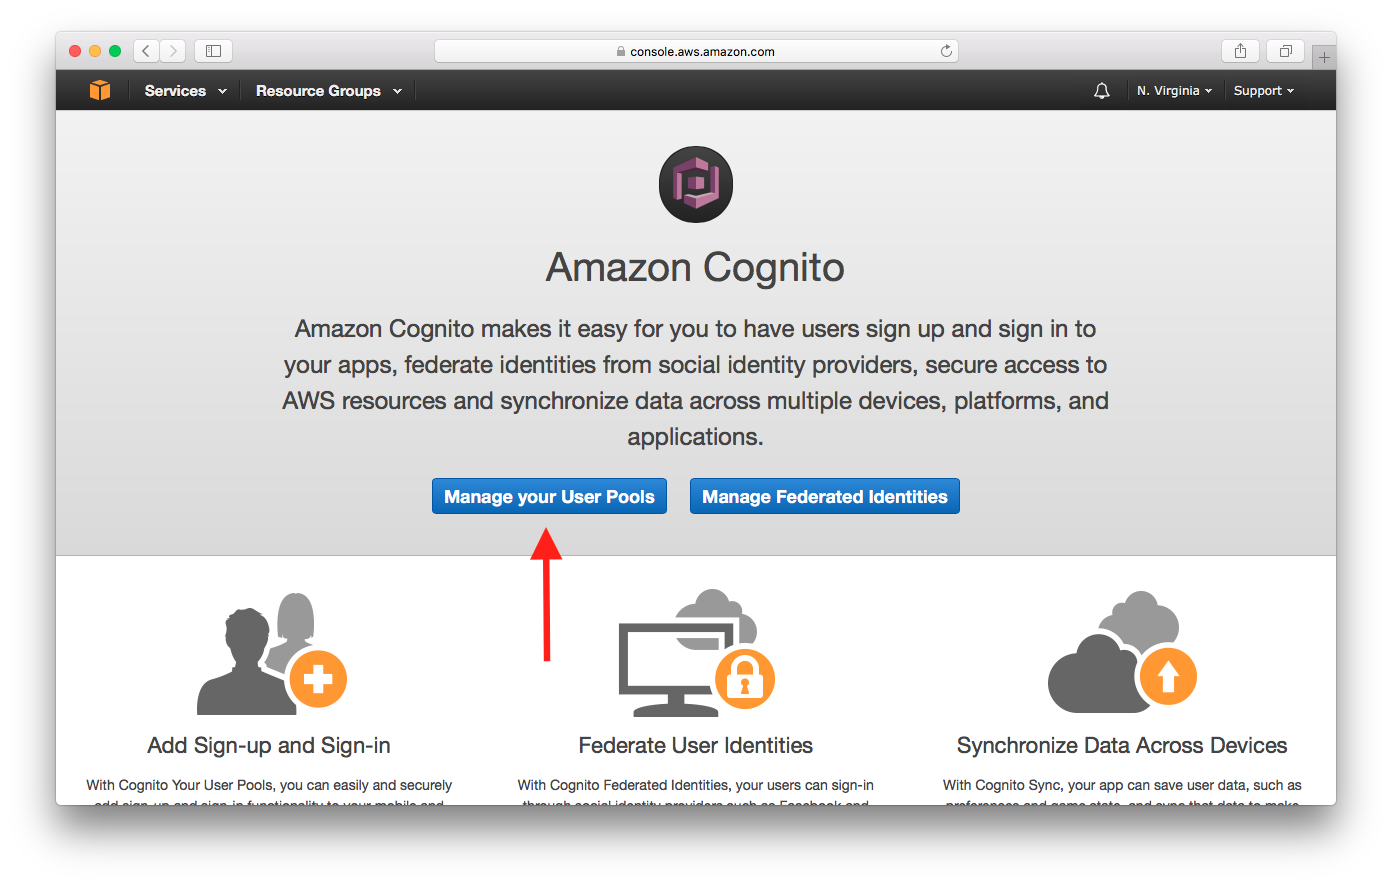
Select Manage your User Pools.
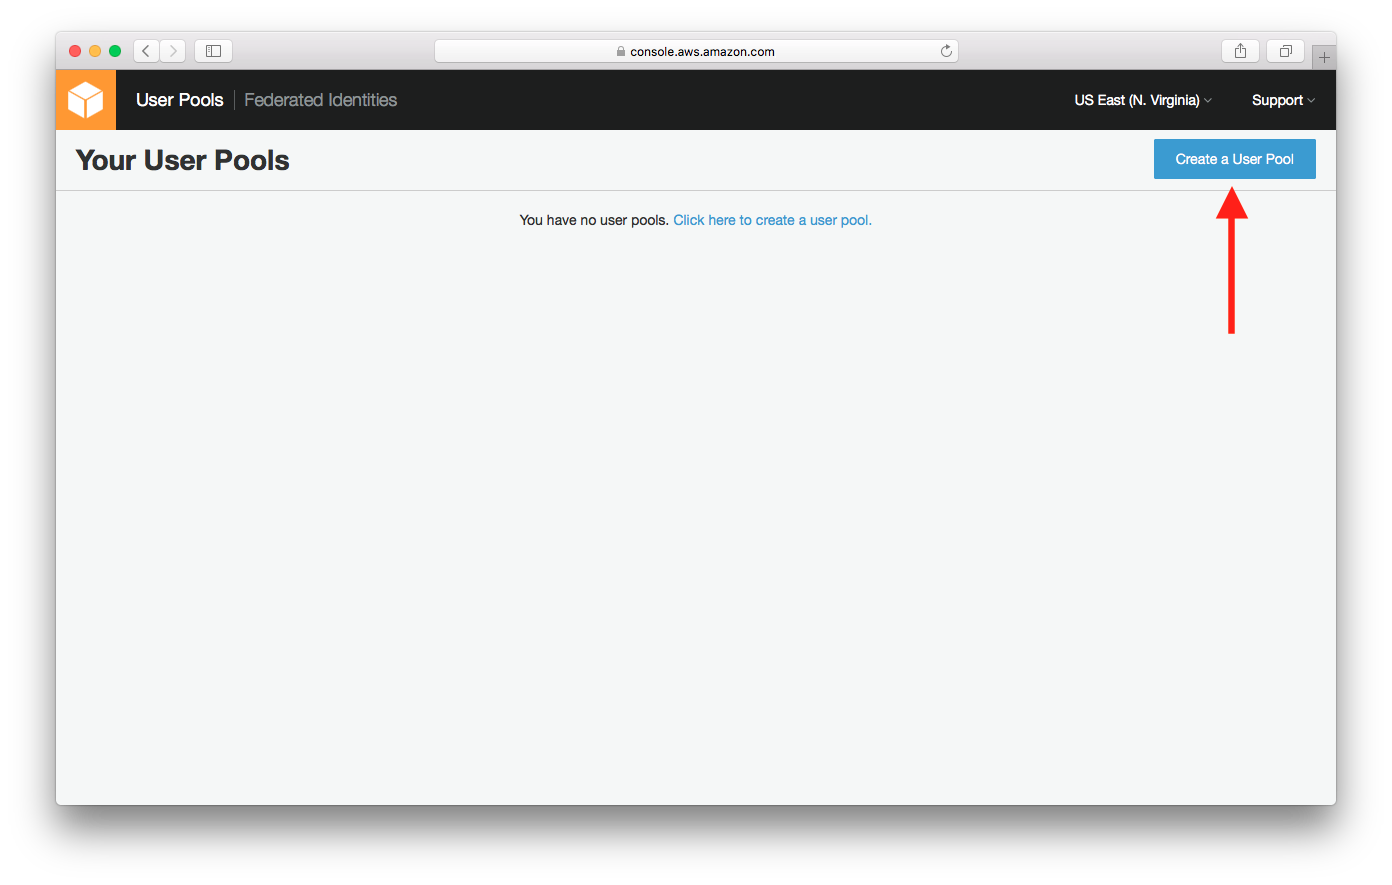
Select Create a User Pool.
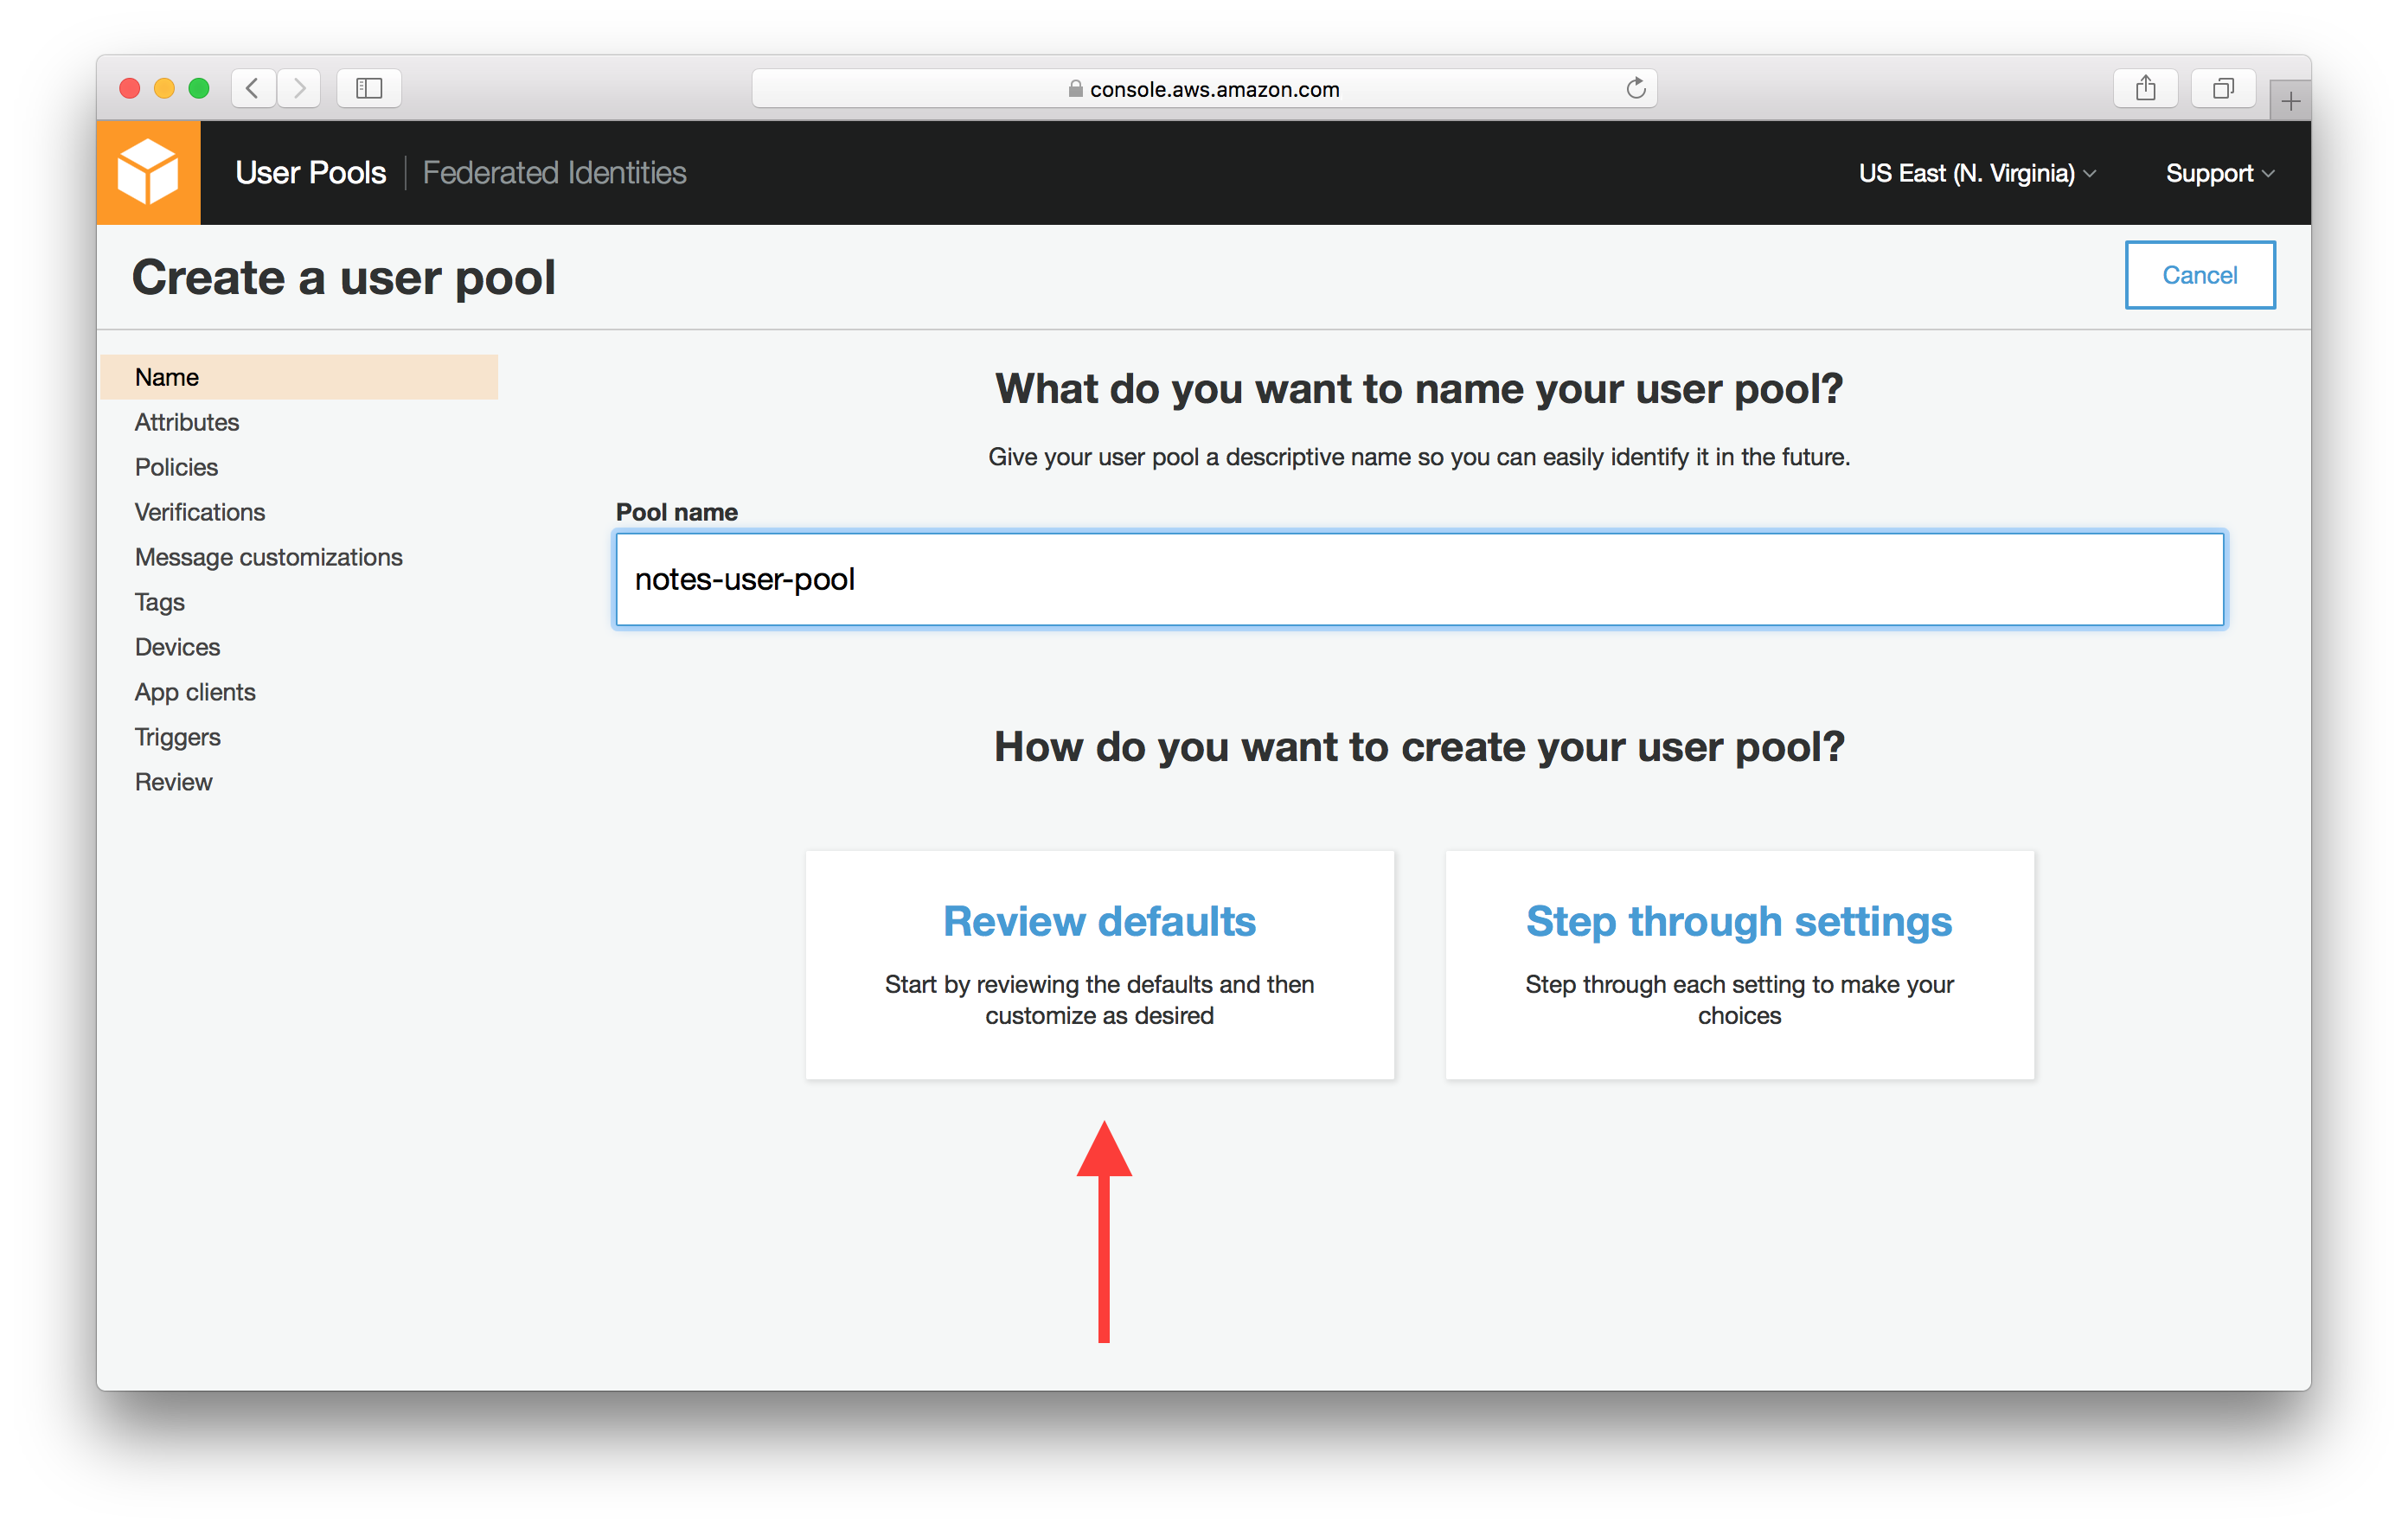
Enter Pool name and select Review defaults.
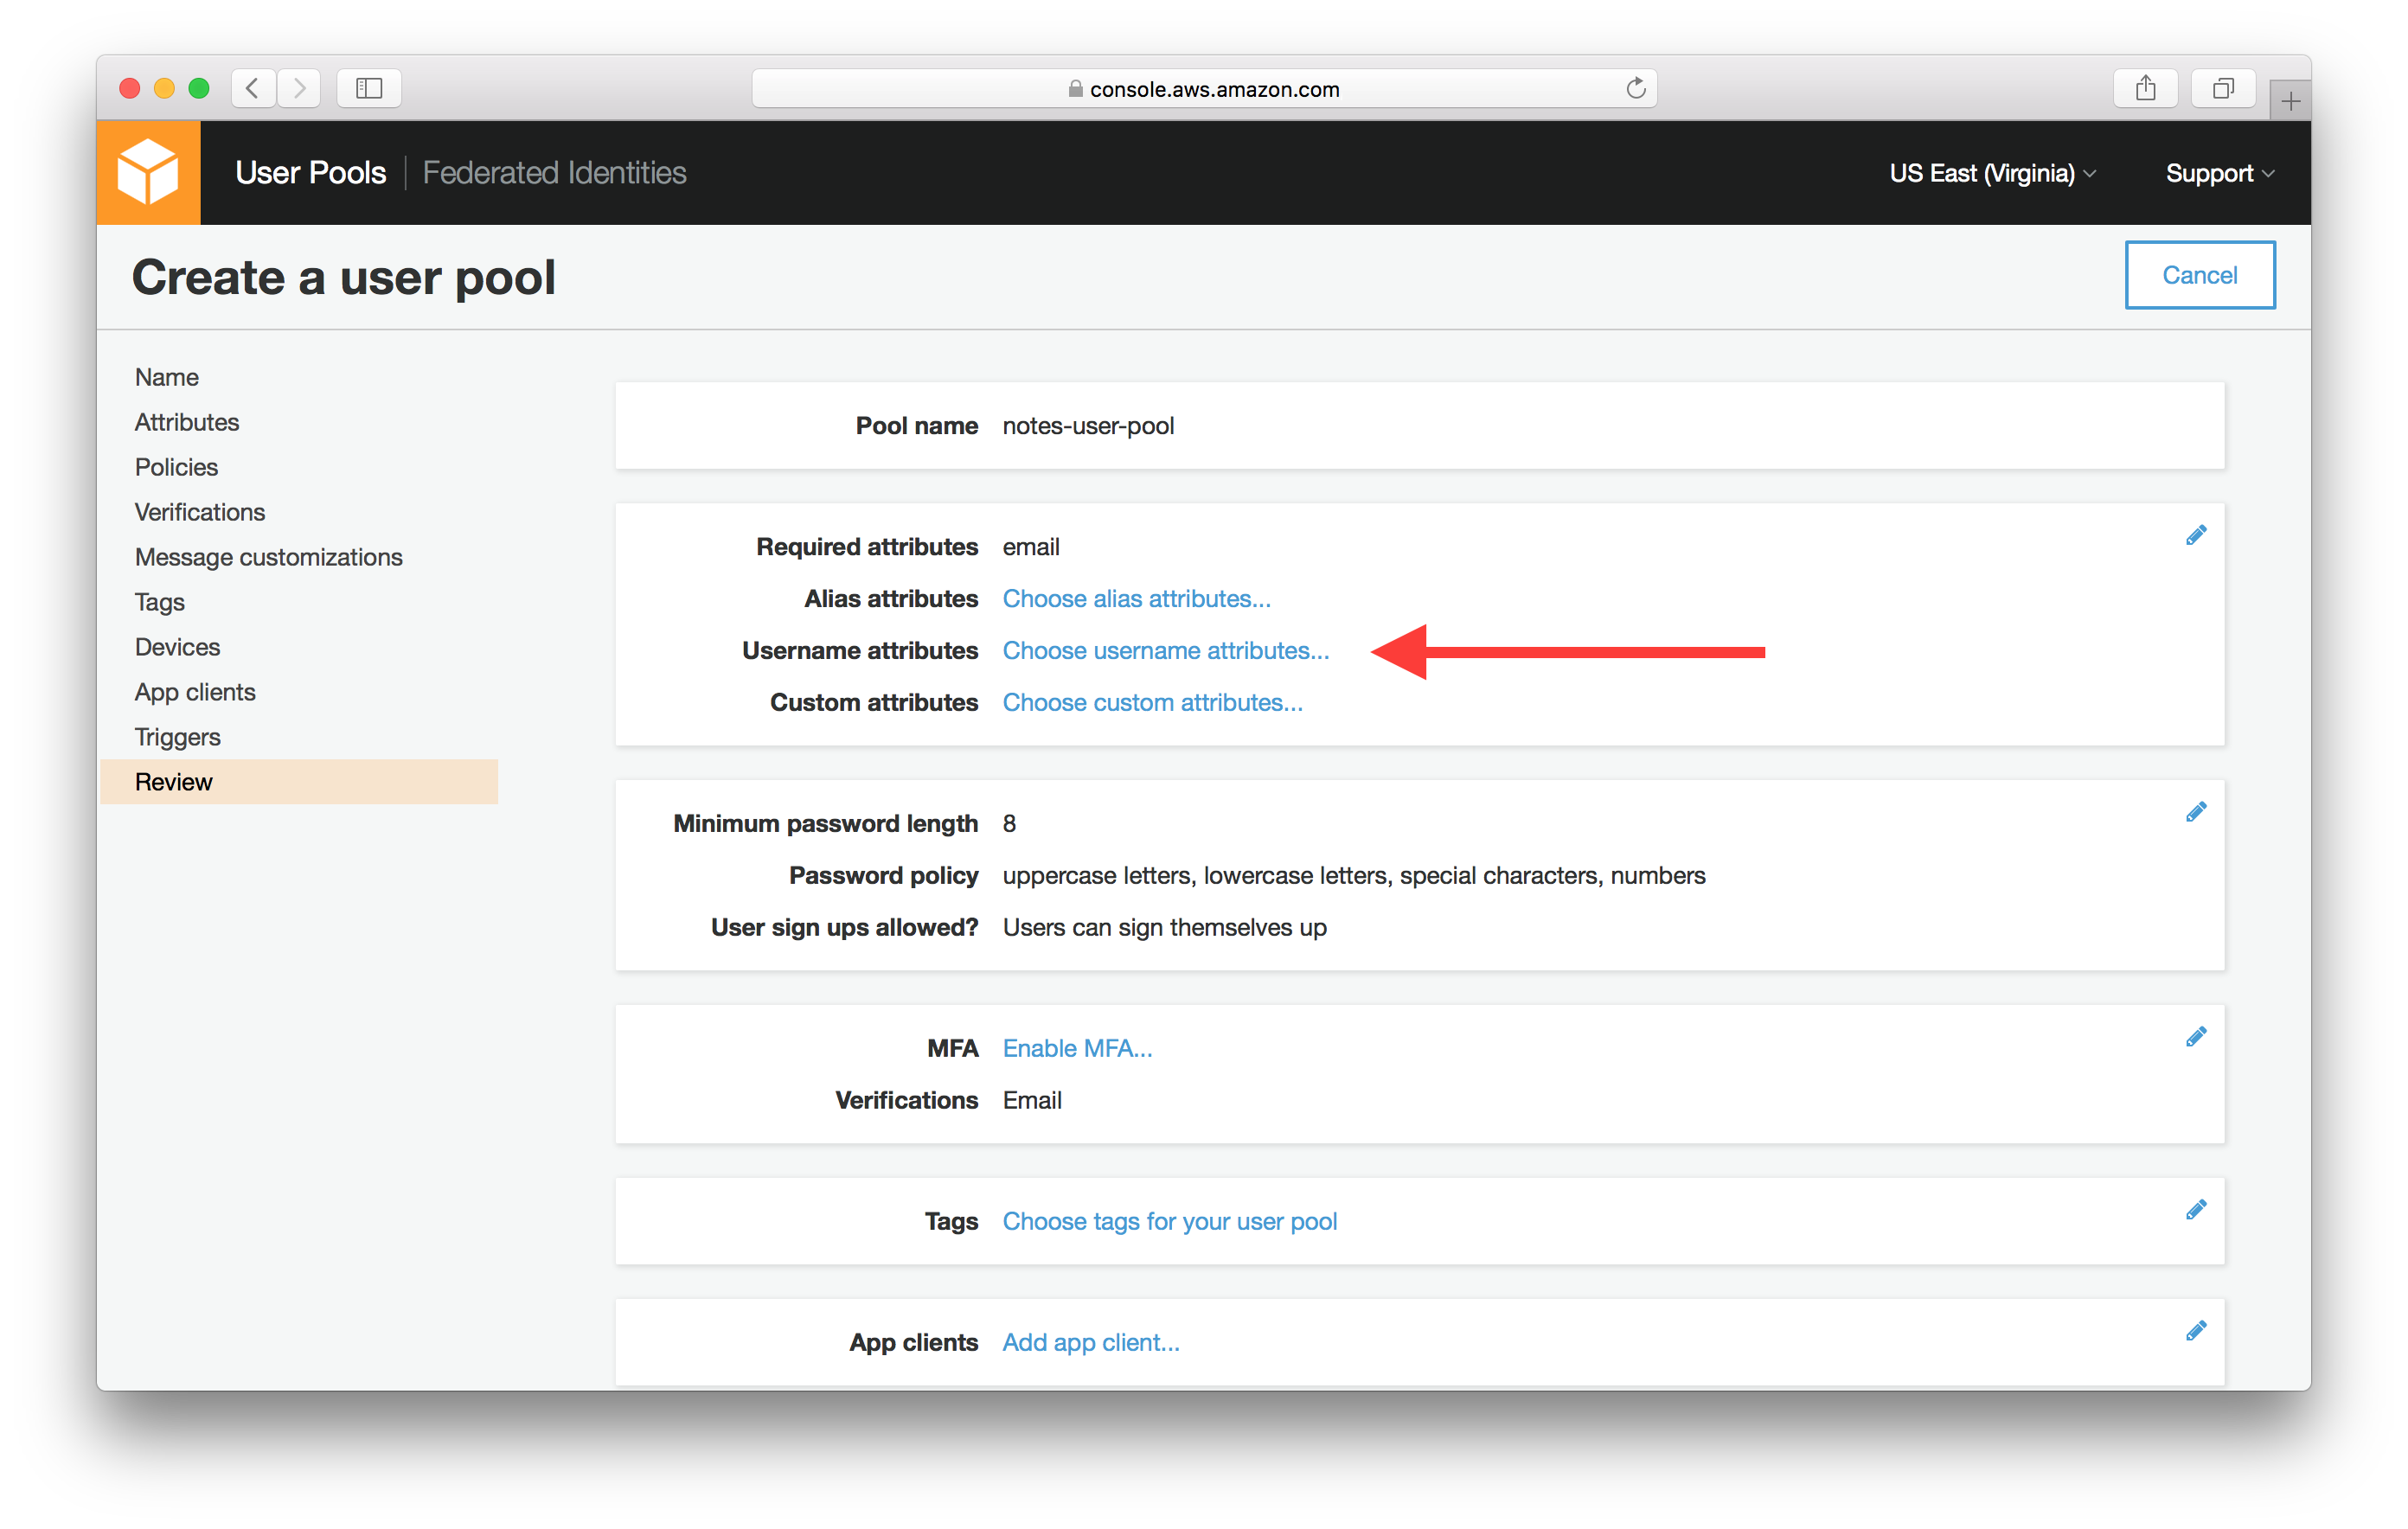
Select Choose username attributes….
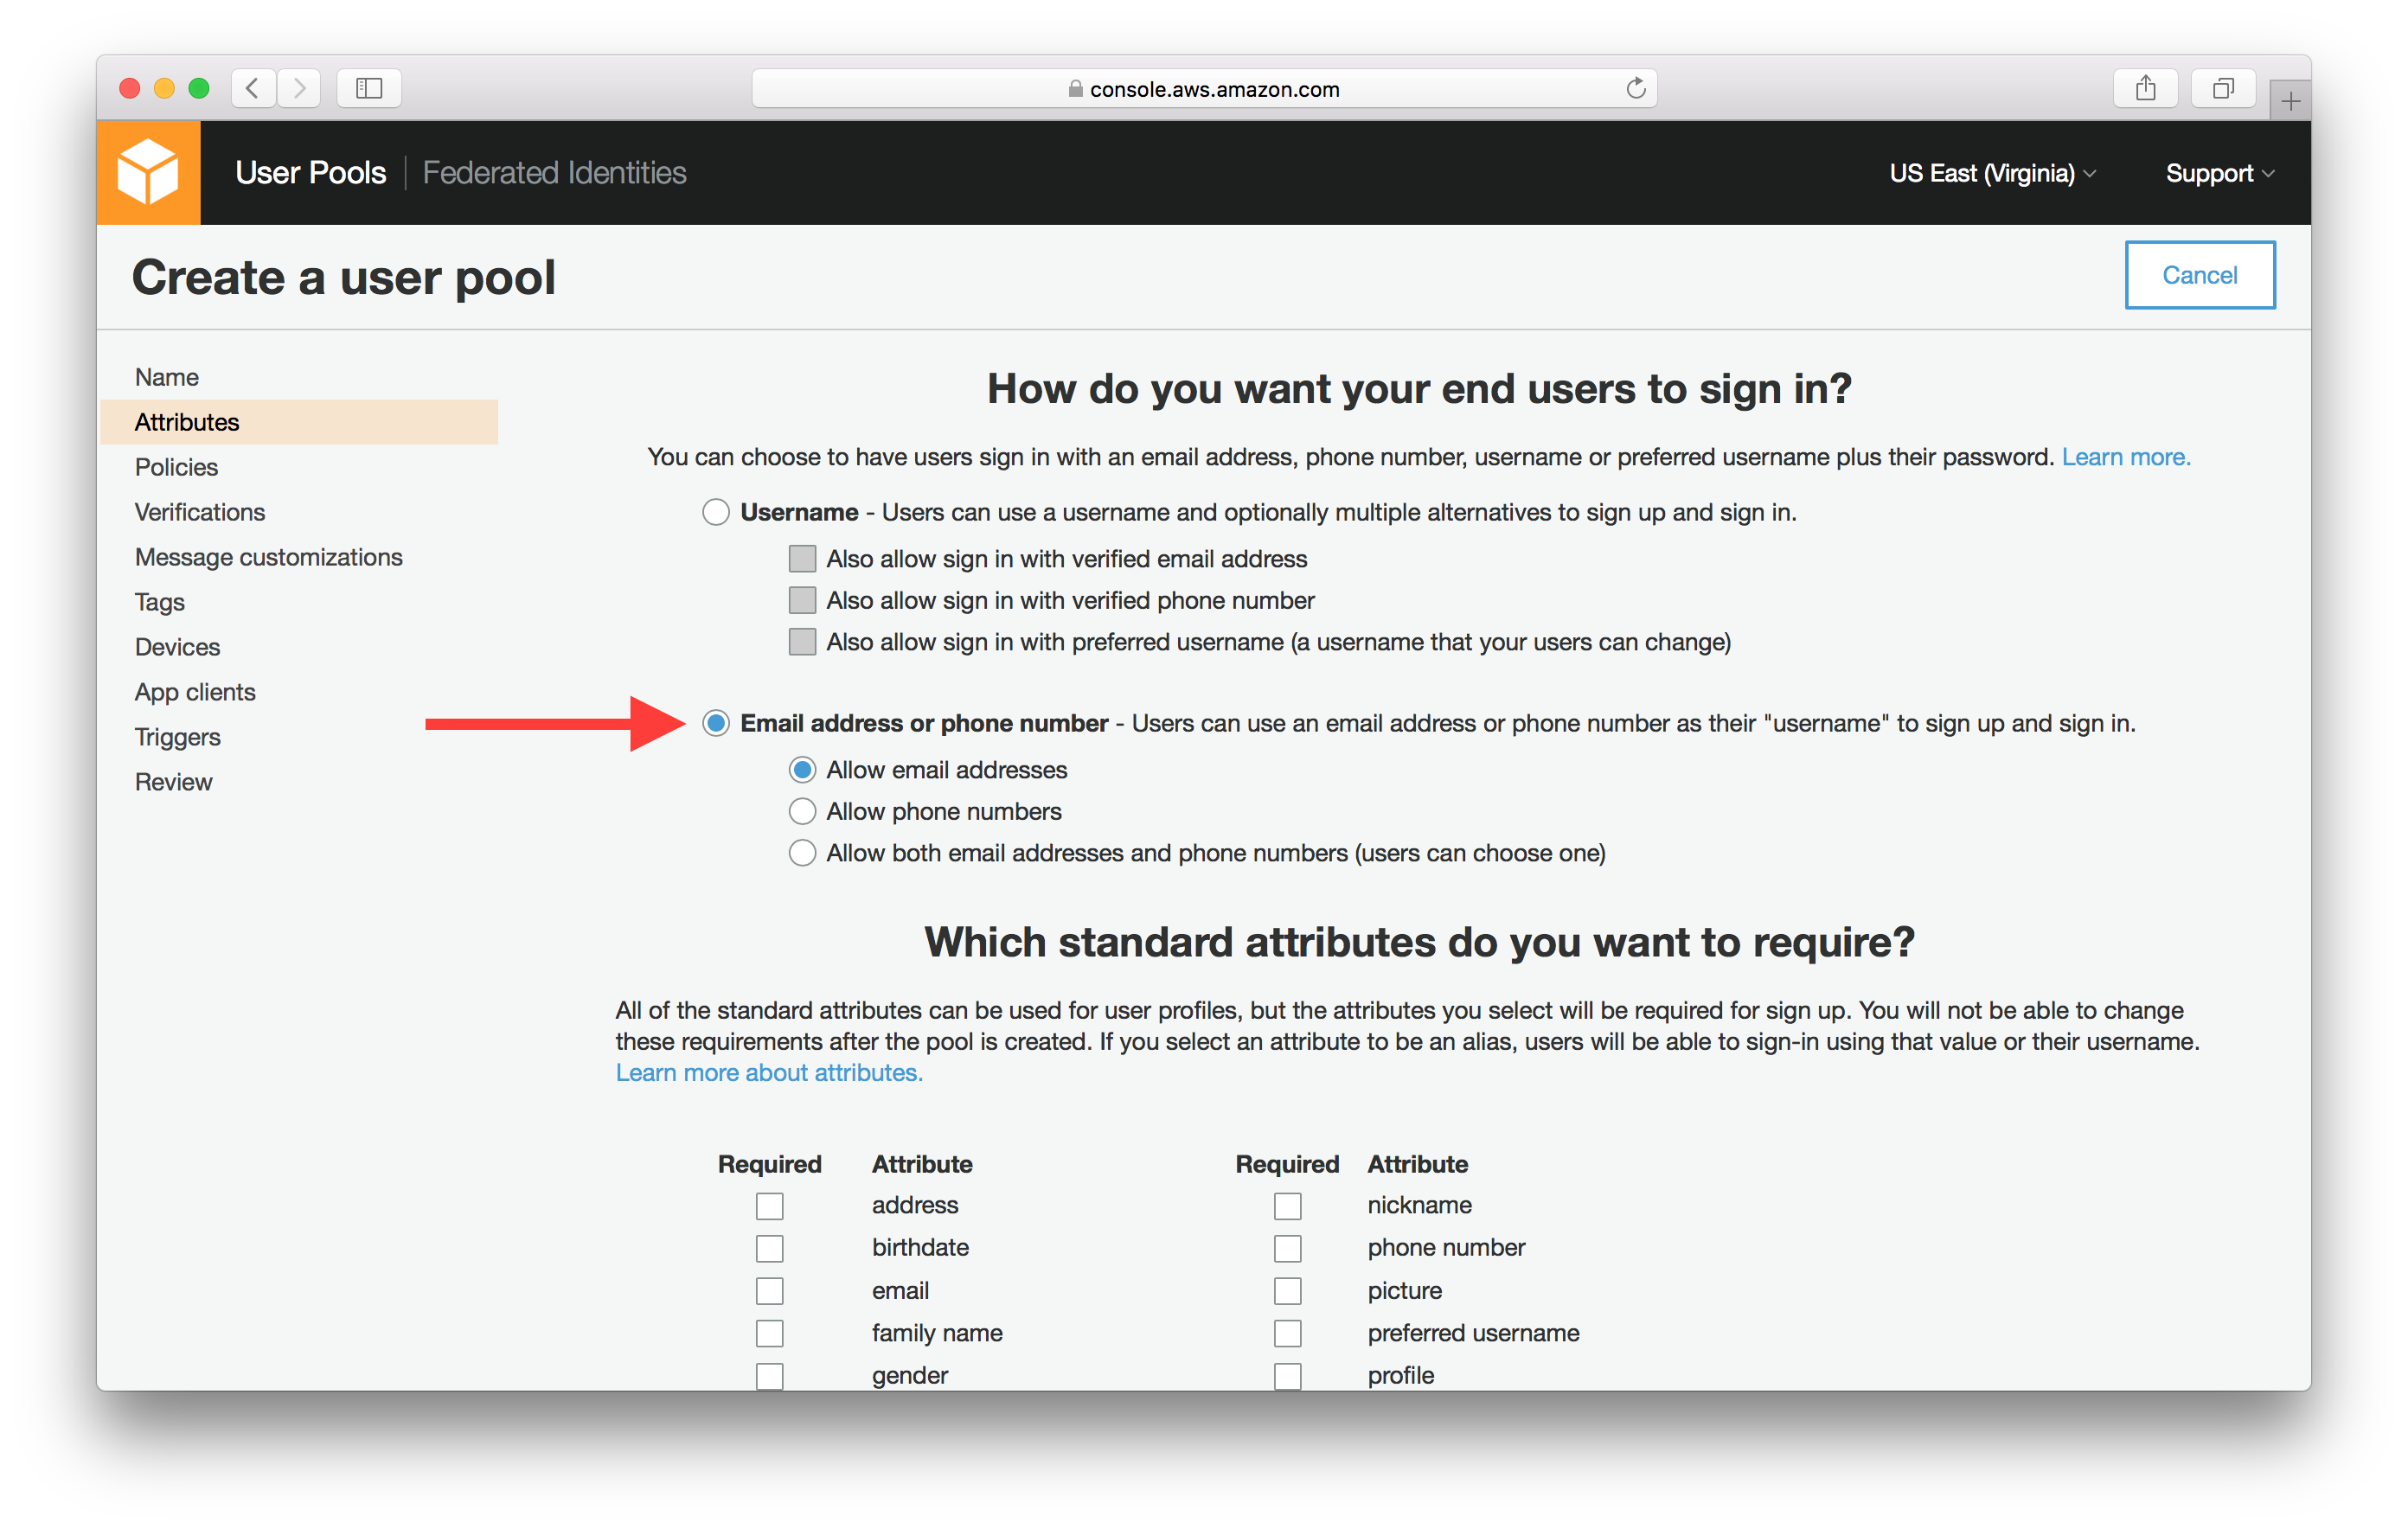
And select Email address or phone numbers and Allow email addresses. This is telling Cognito User Pool that we want our users to be able to sign up and login with their email as their username.
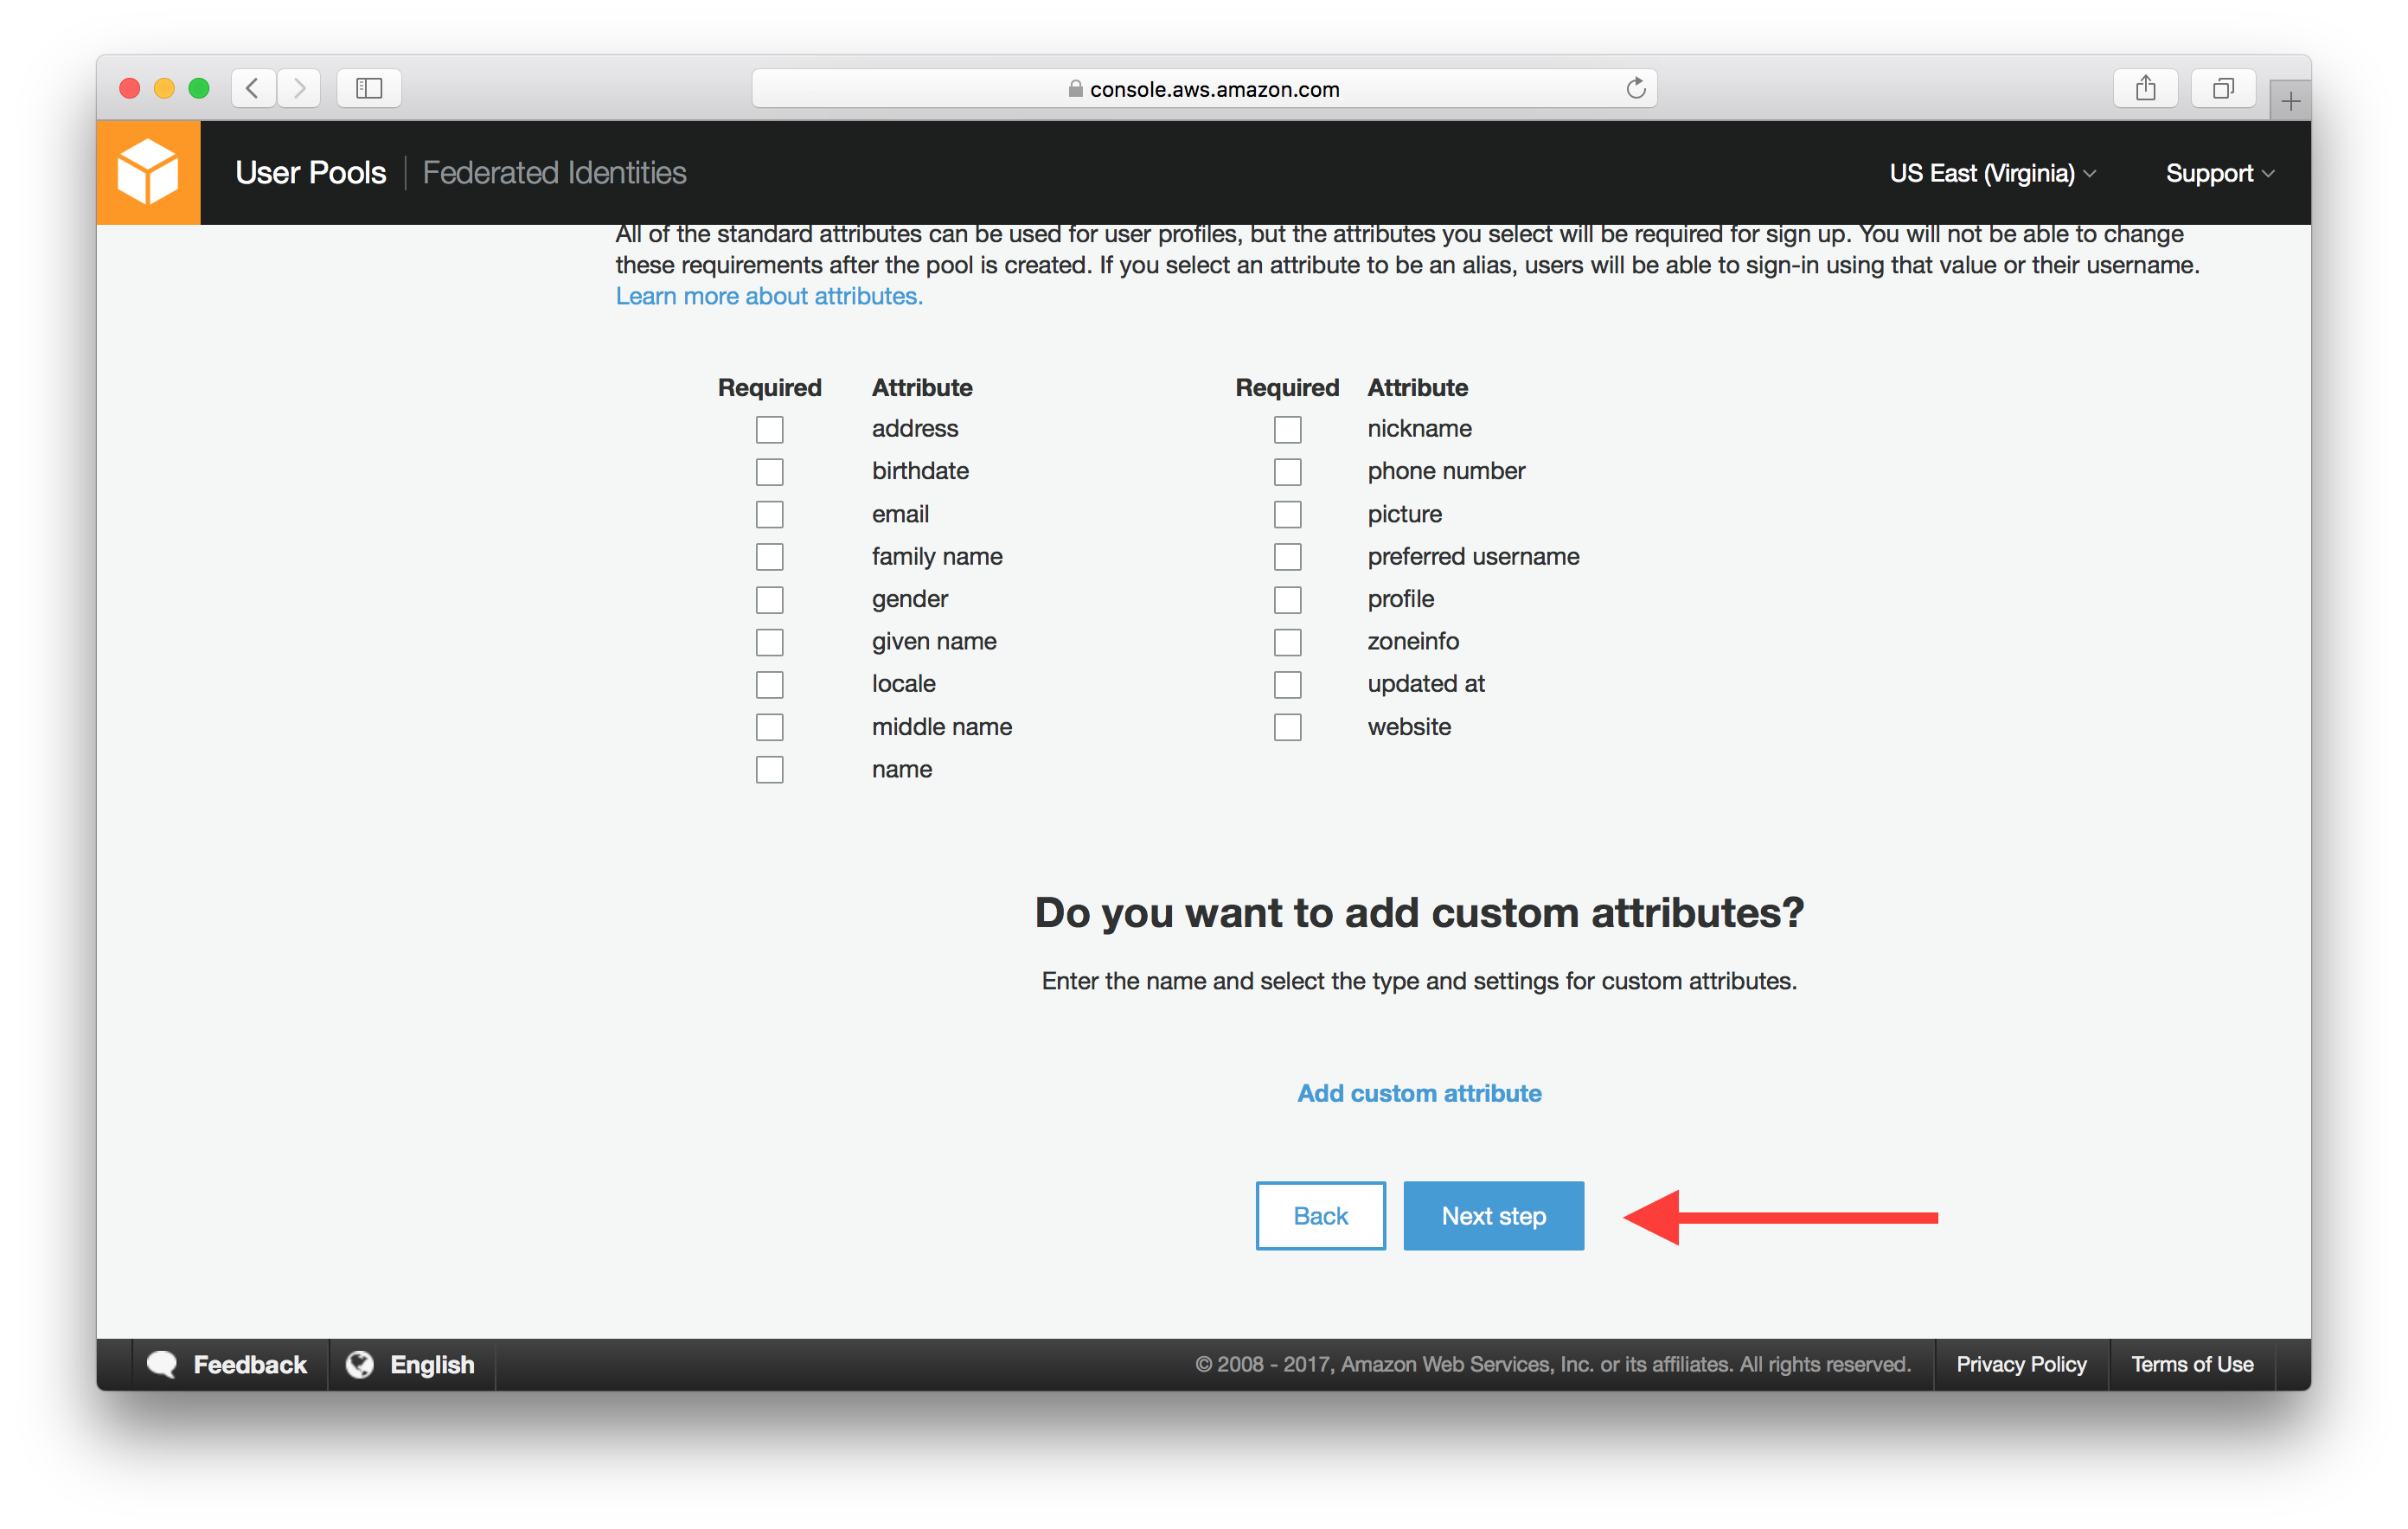
Scroll down and select Next step.
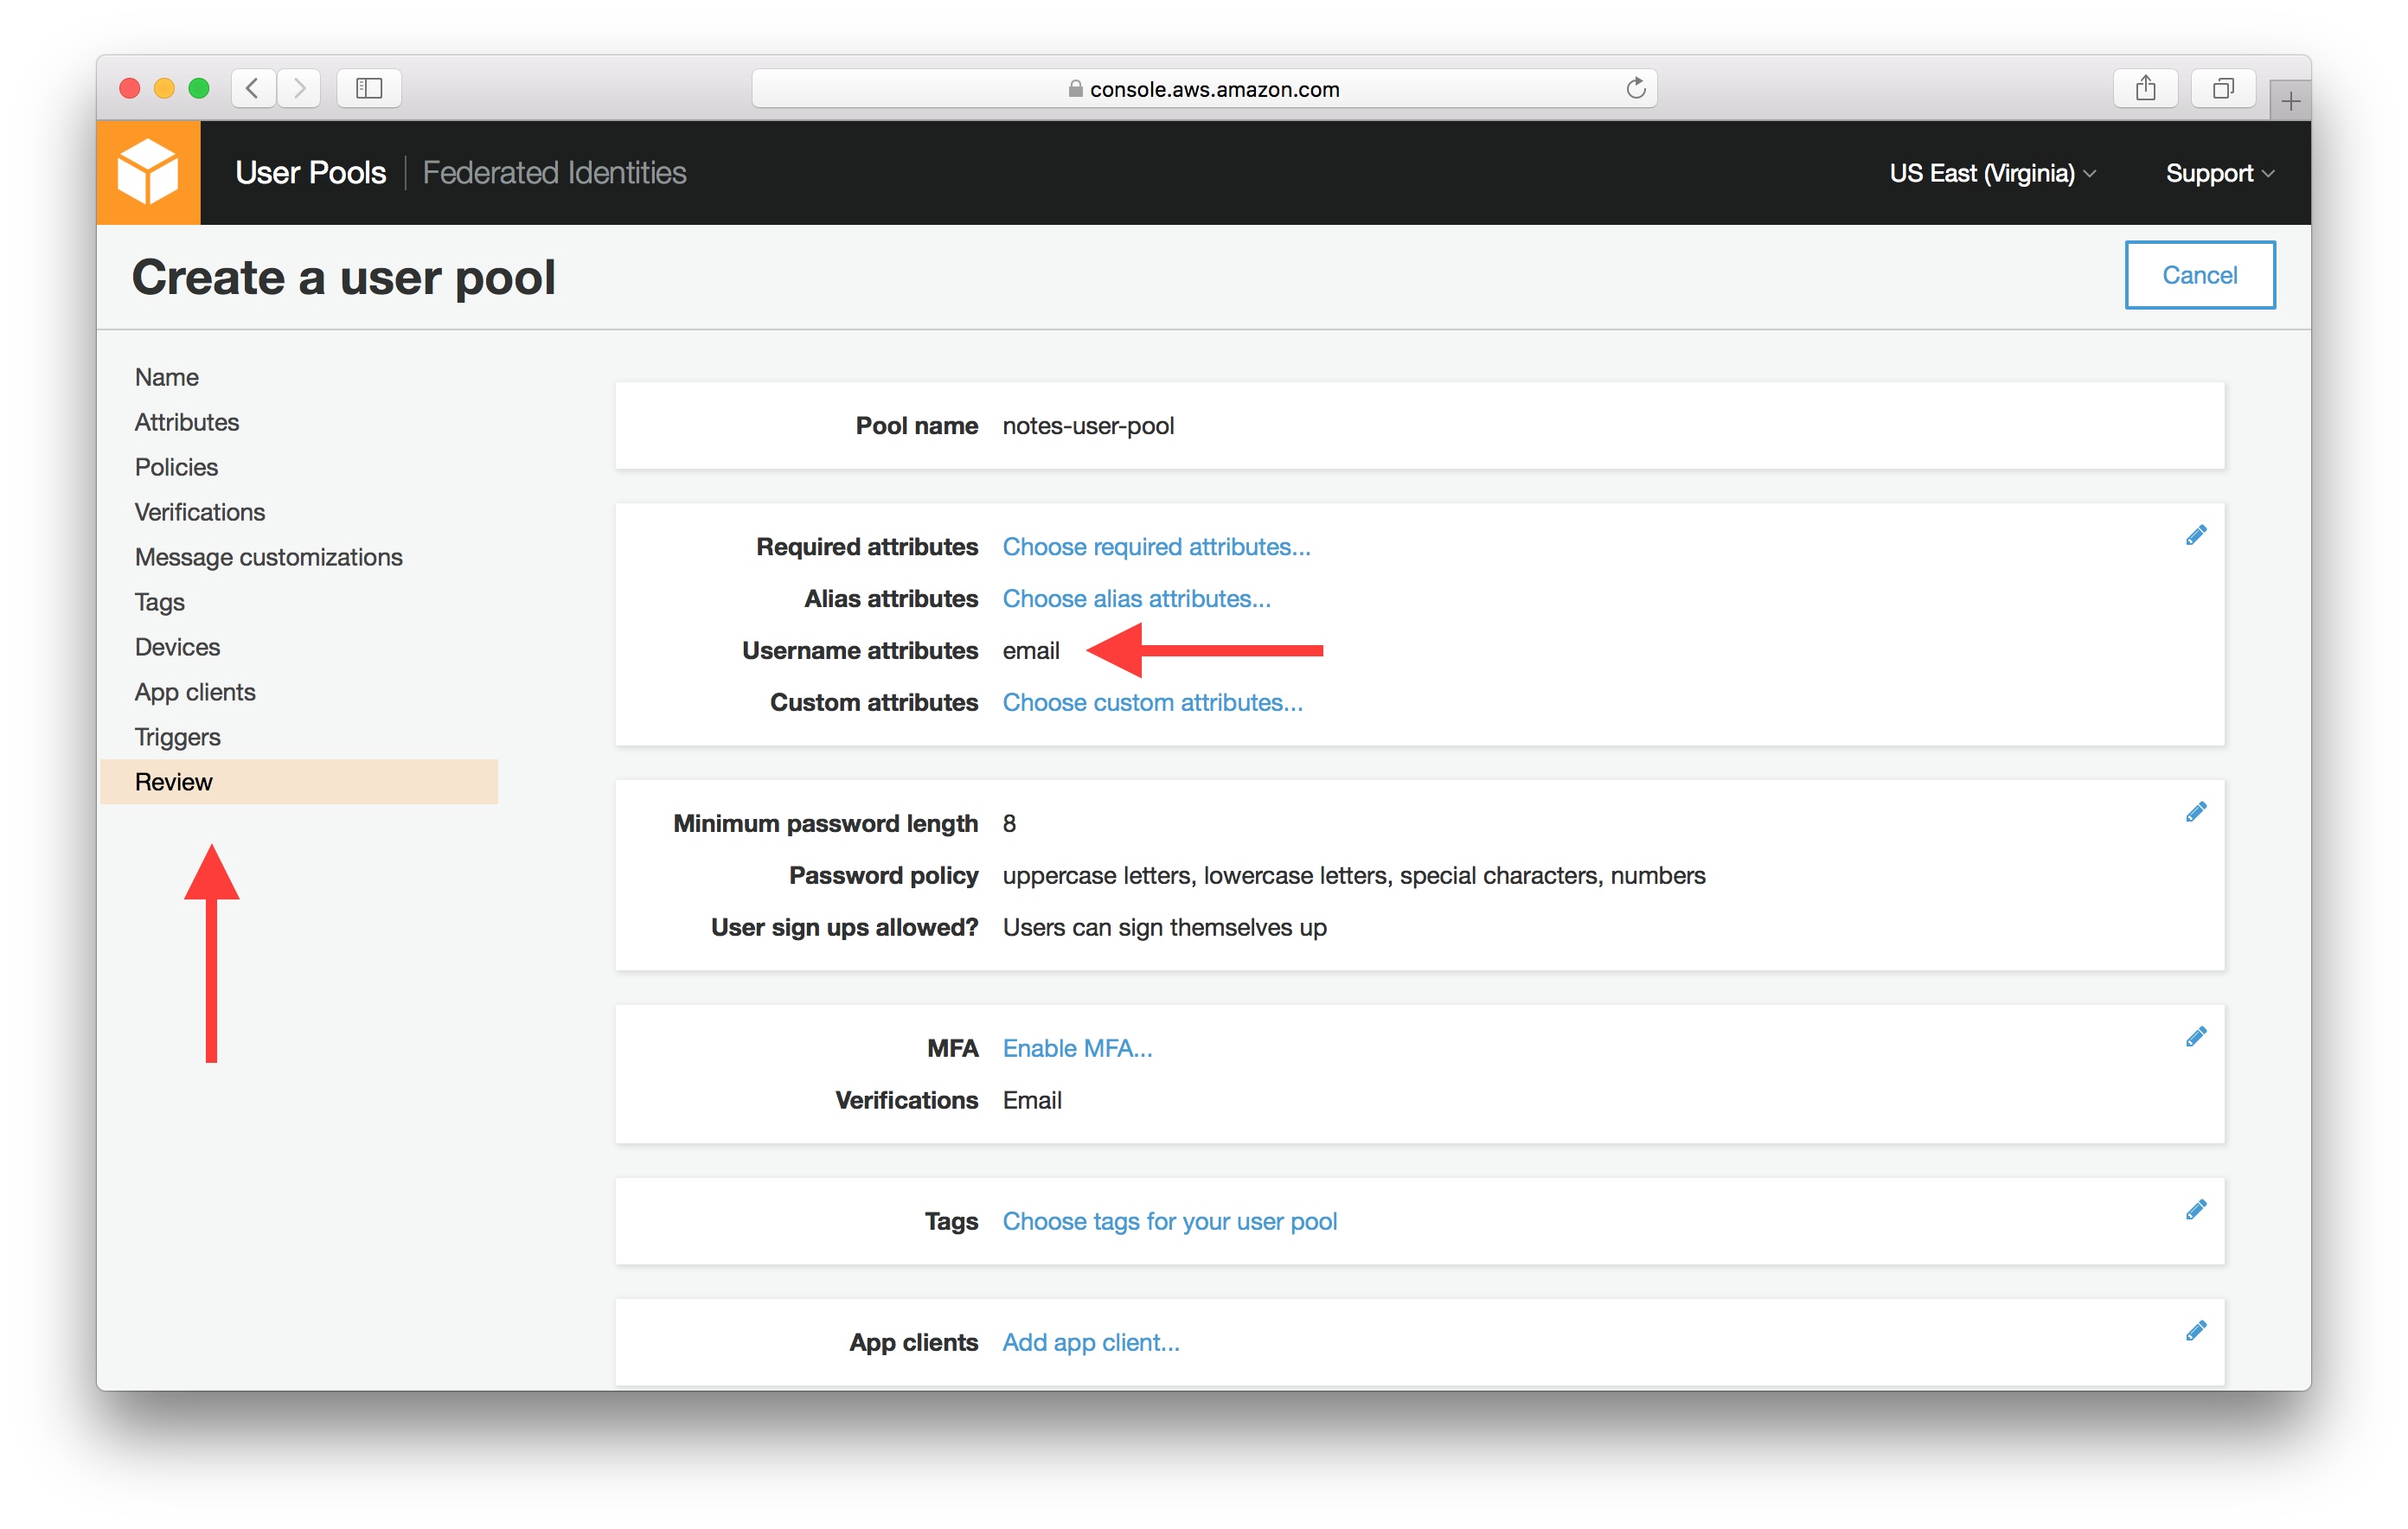
Hit Review in the side panel and make sure that the Username attributes is set to email.
Now hit Create pool at the bottom of the page.
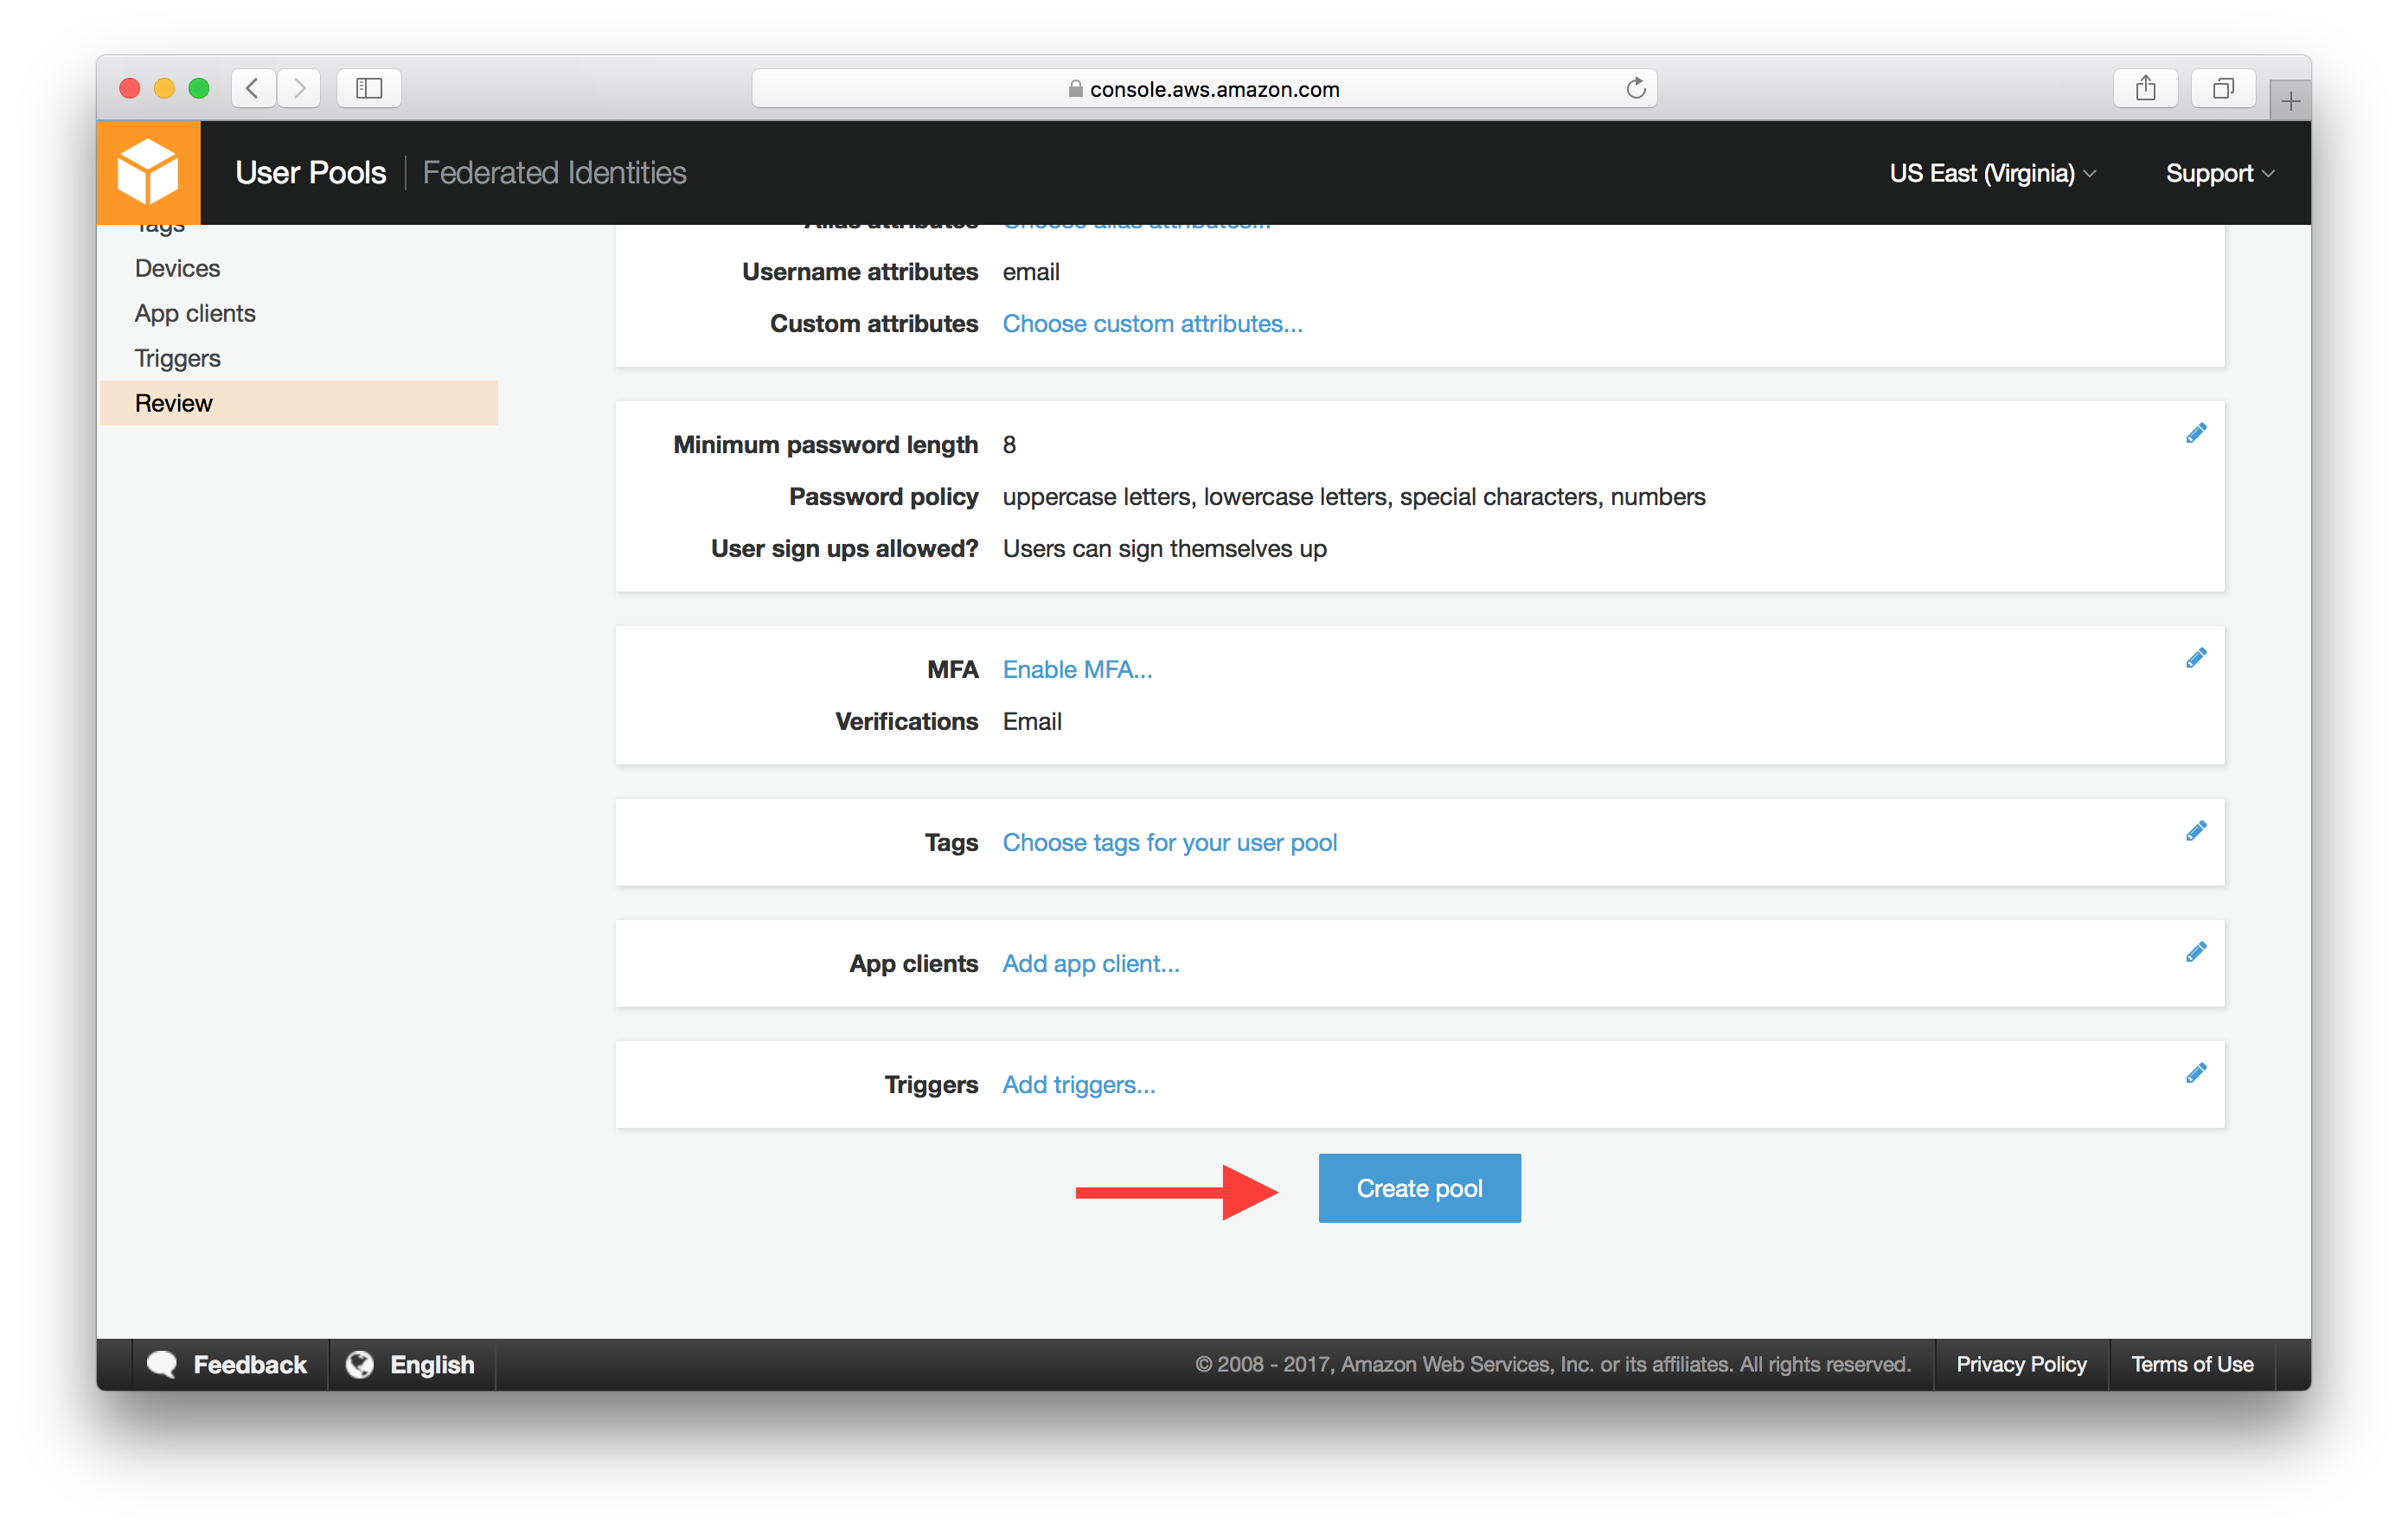
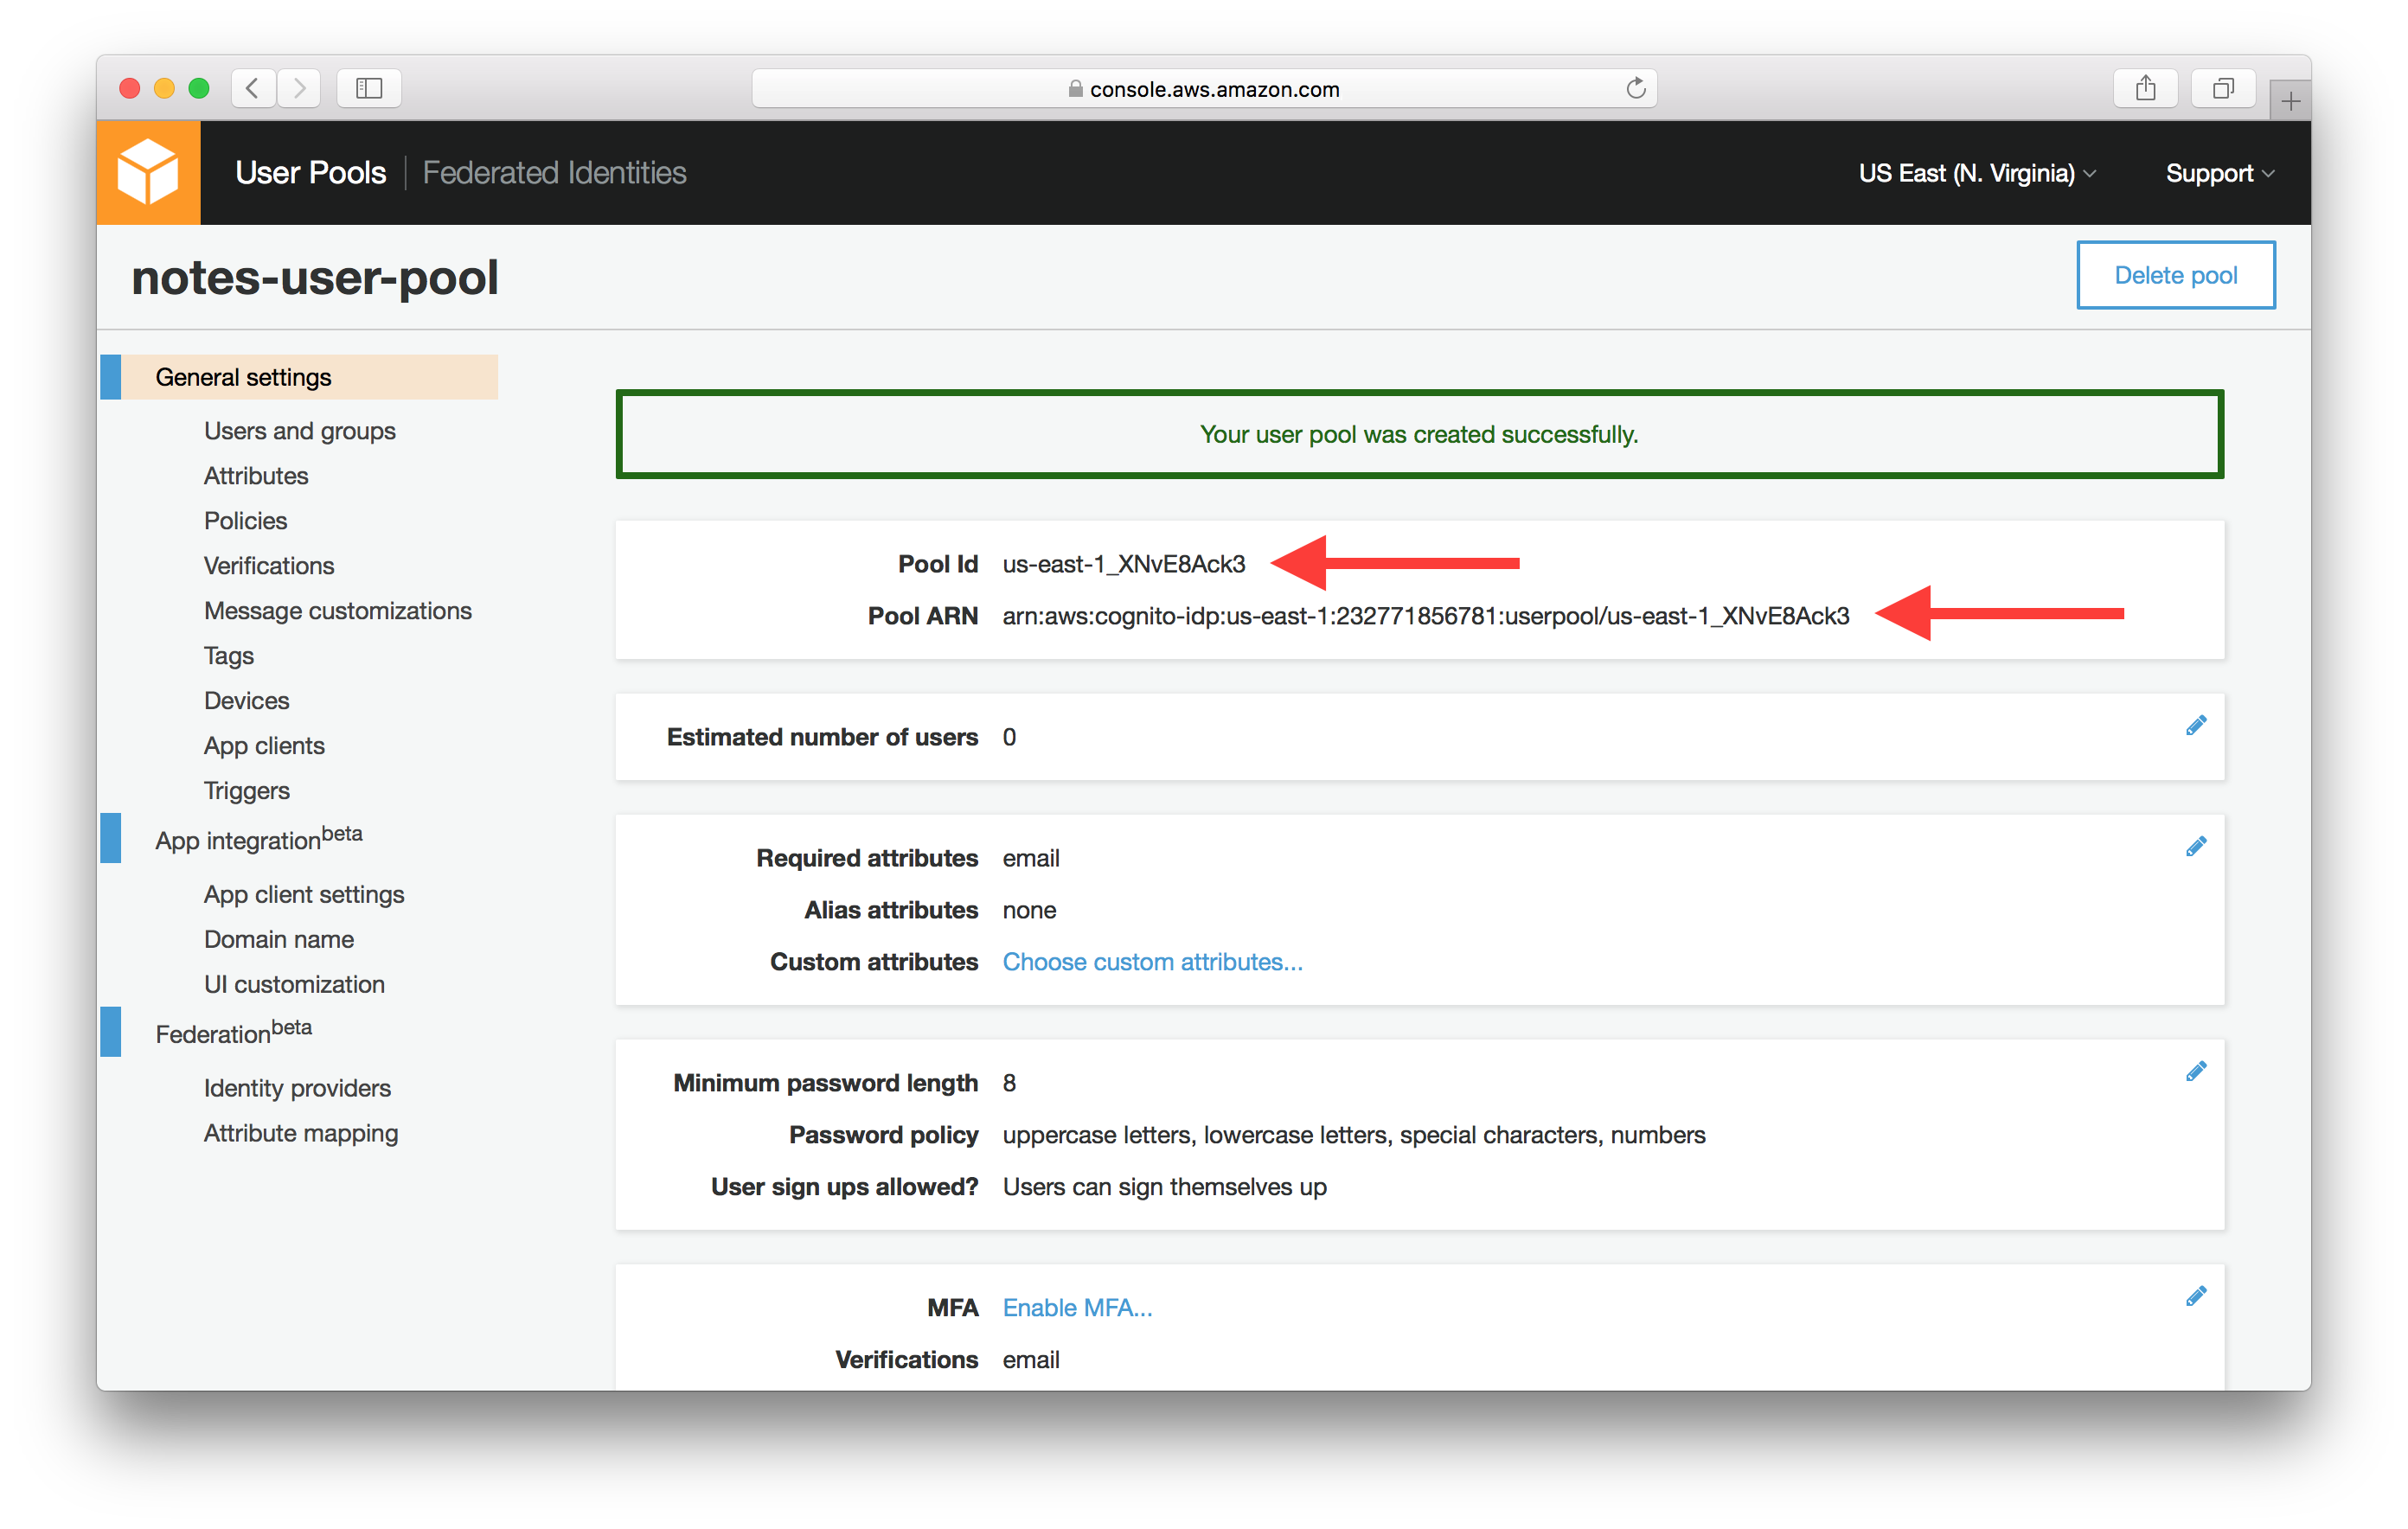
Now that the User Pool is created. Take a note of the Pool Id and Pool ARN which will be required later. Also, note the region that your User Pool is created in. In our case it is in us-east-1.
Create App Client
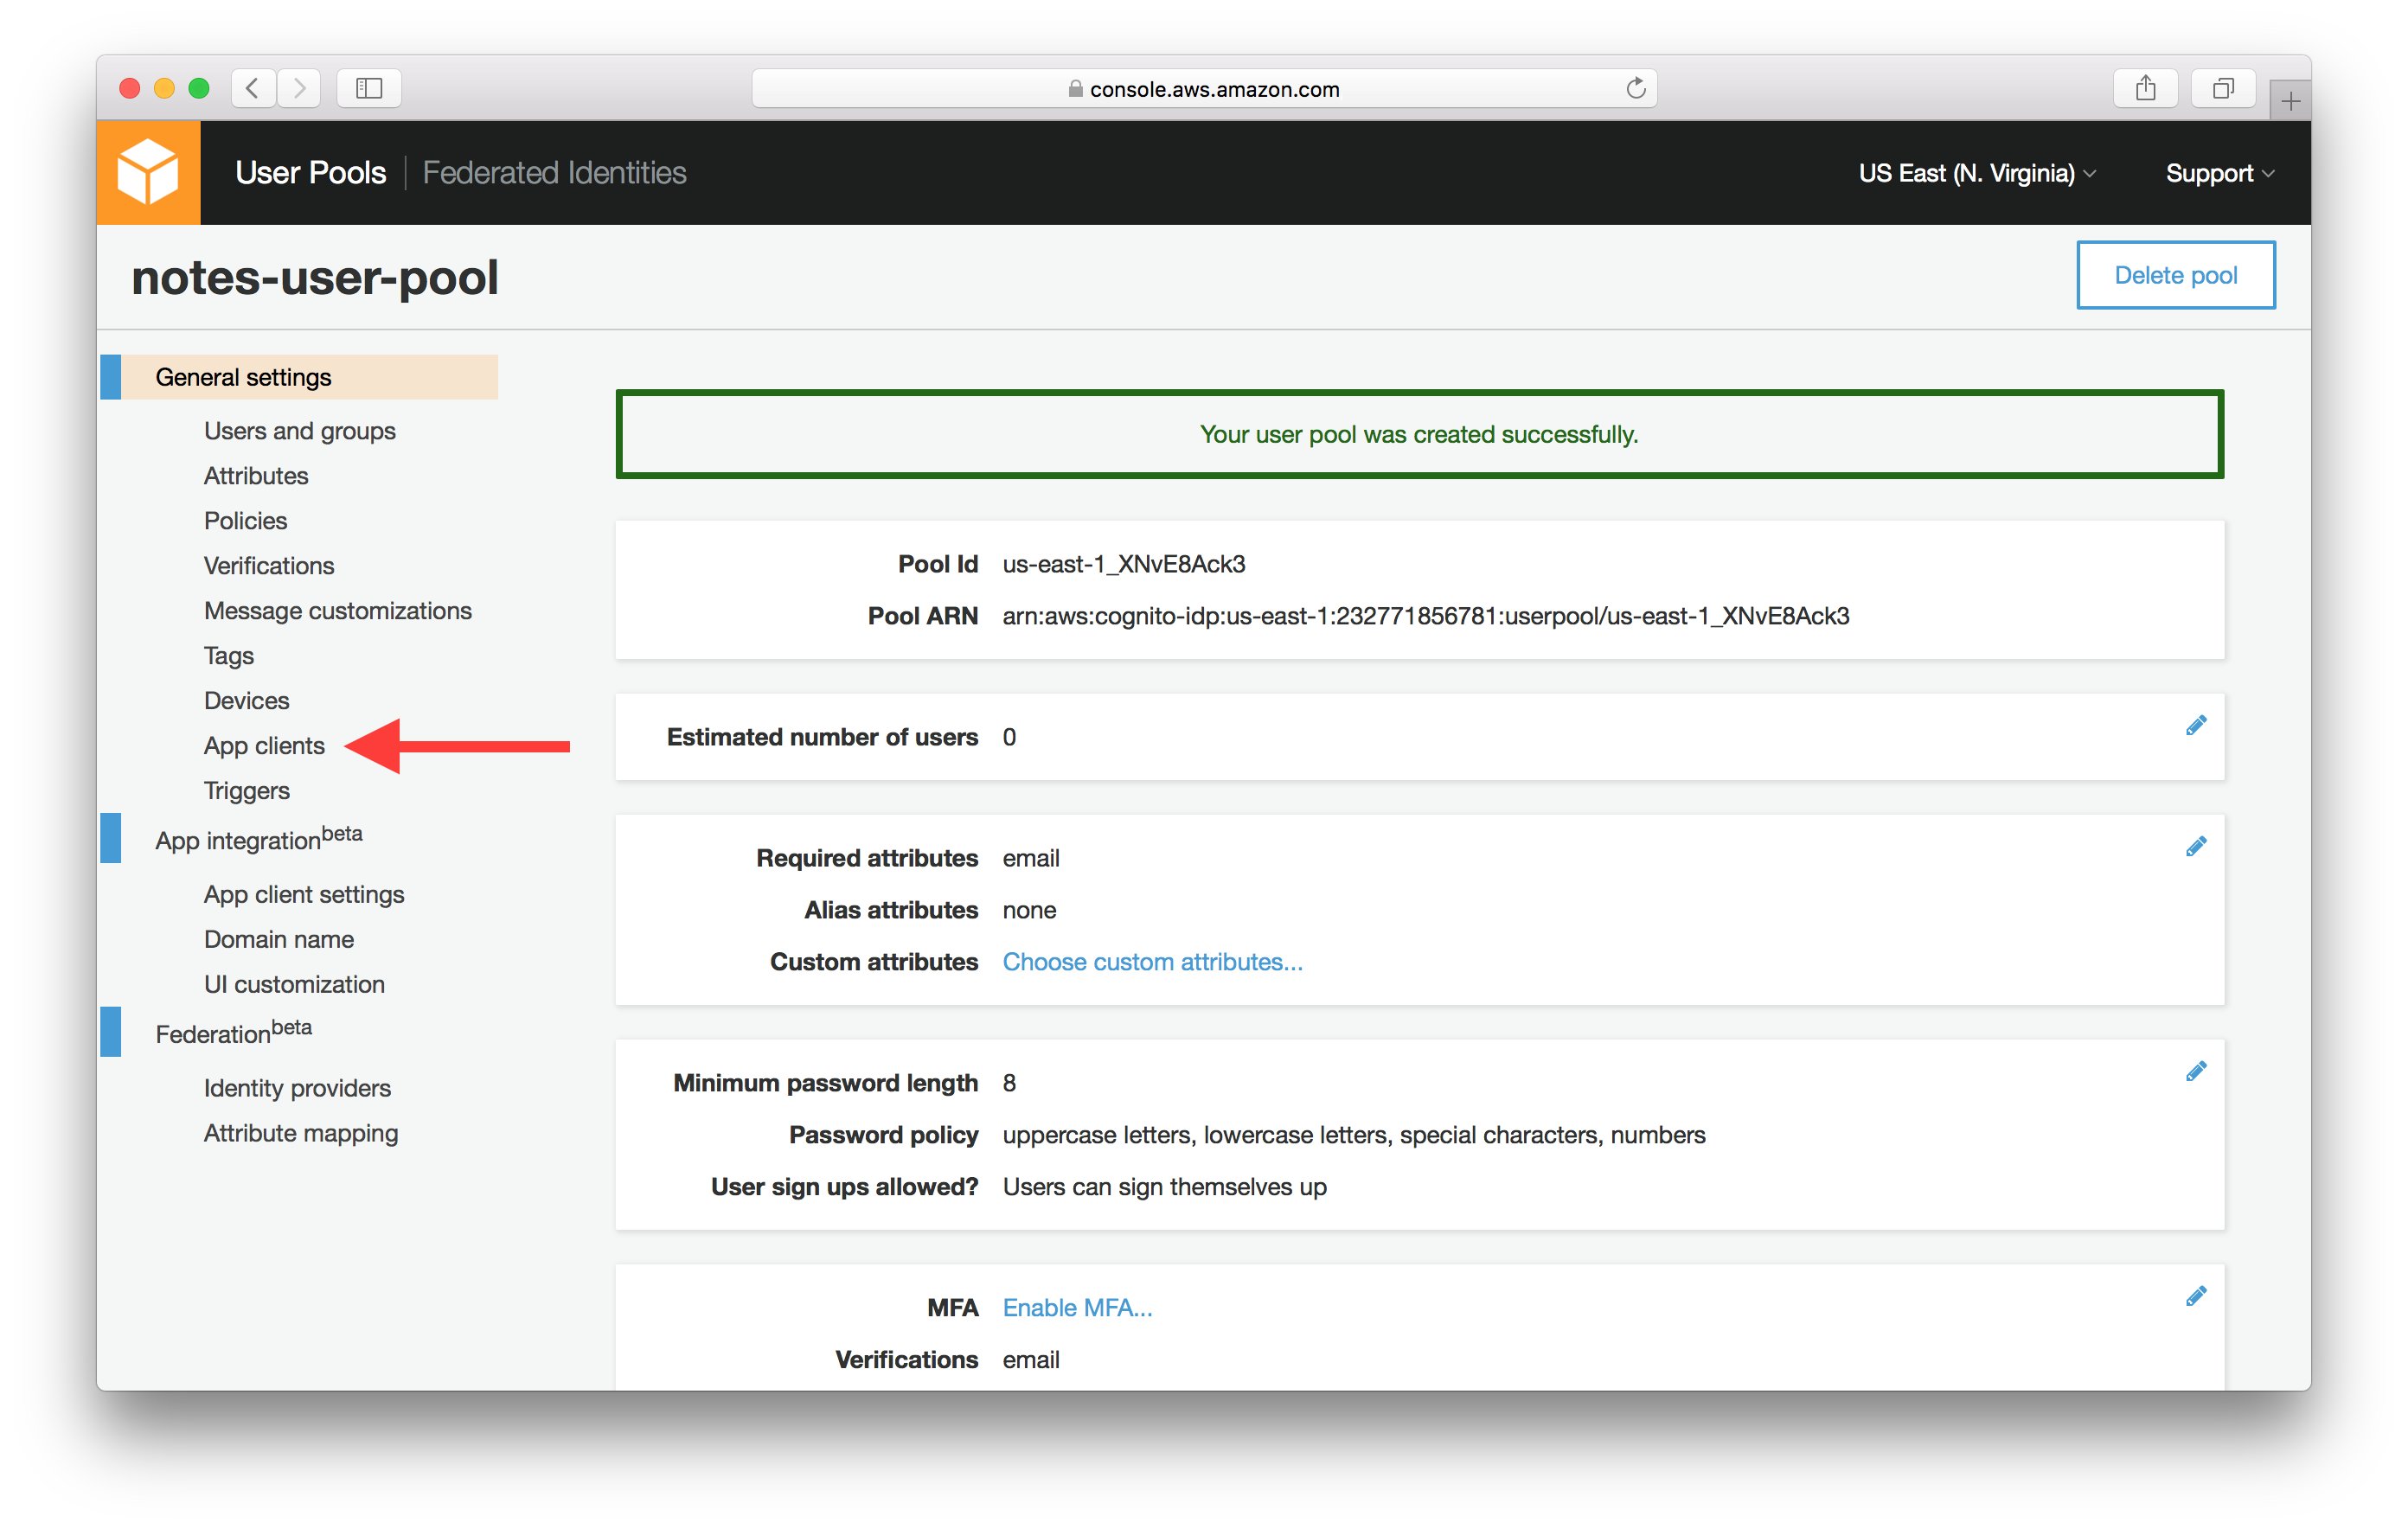
Select App clients from the left panel.
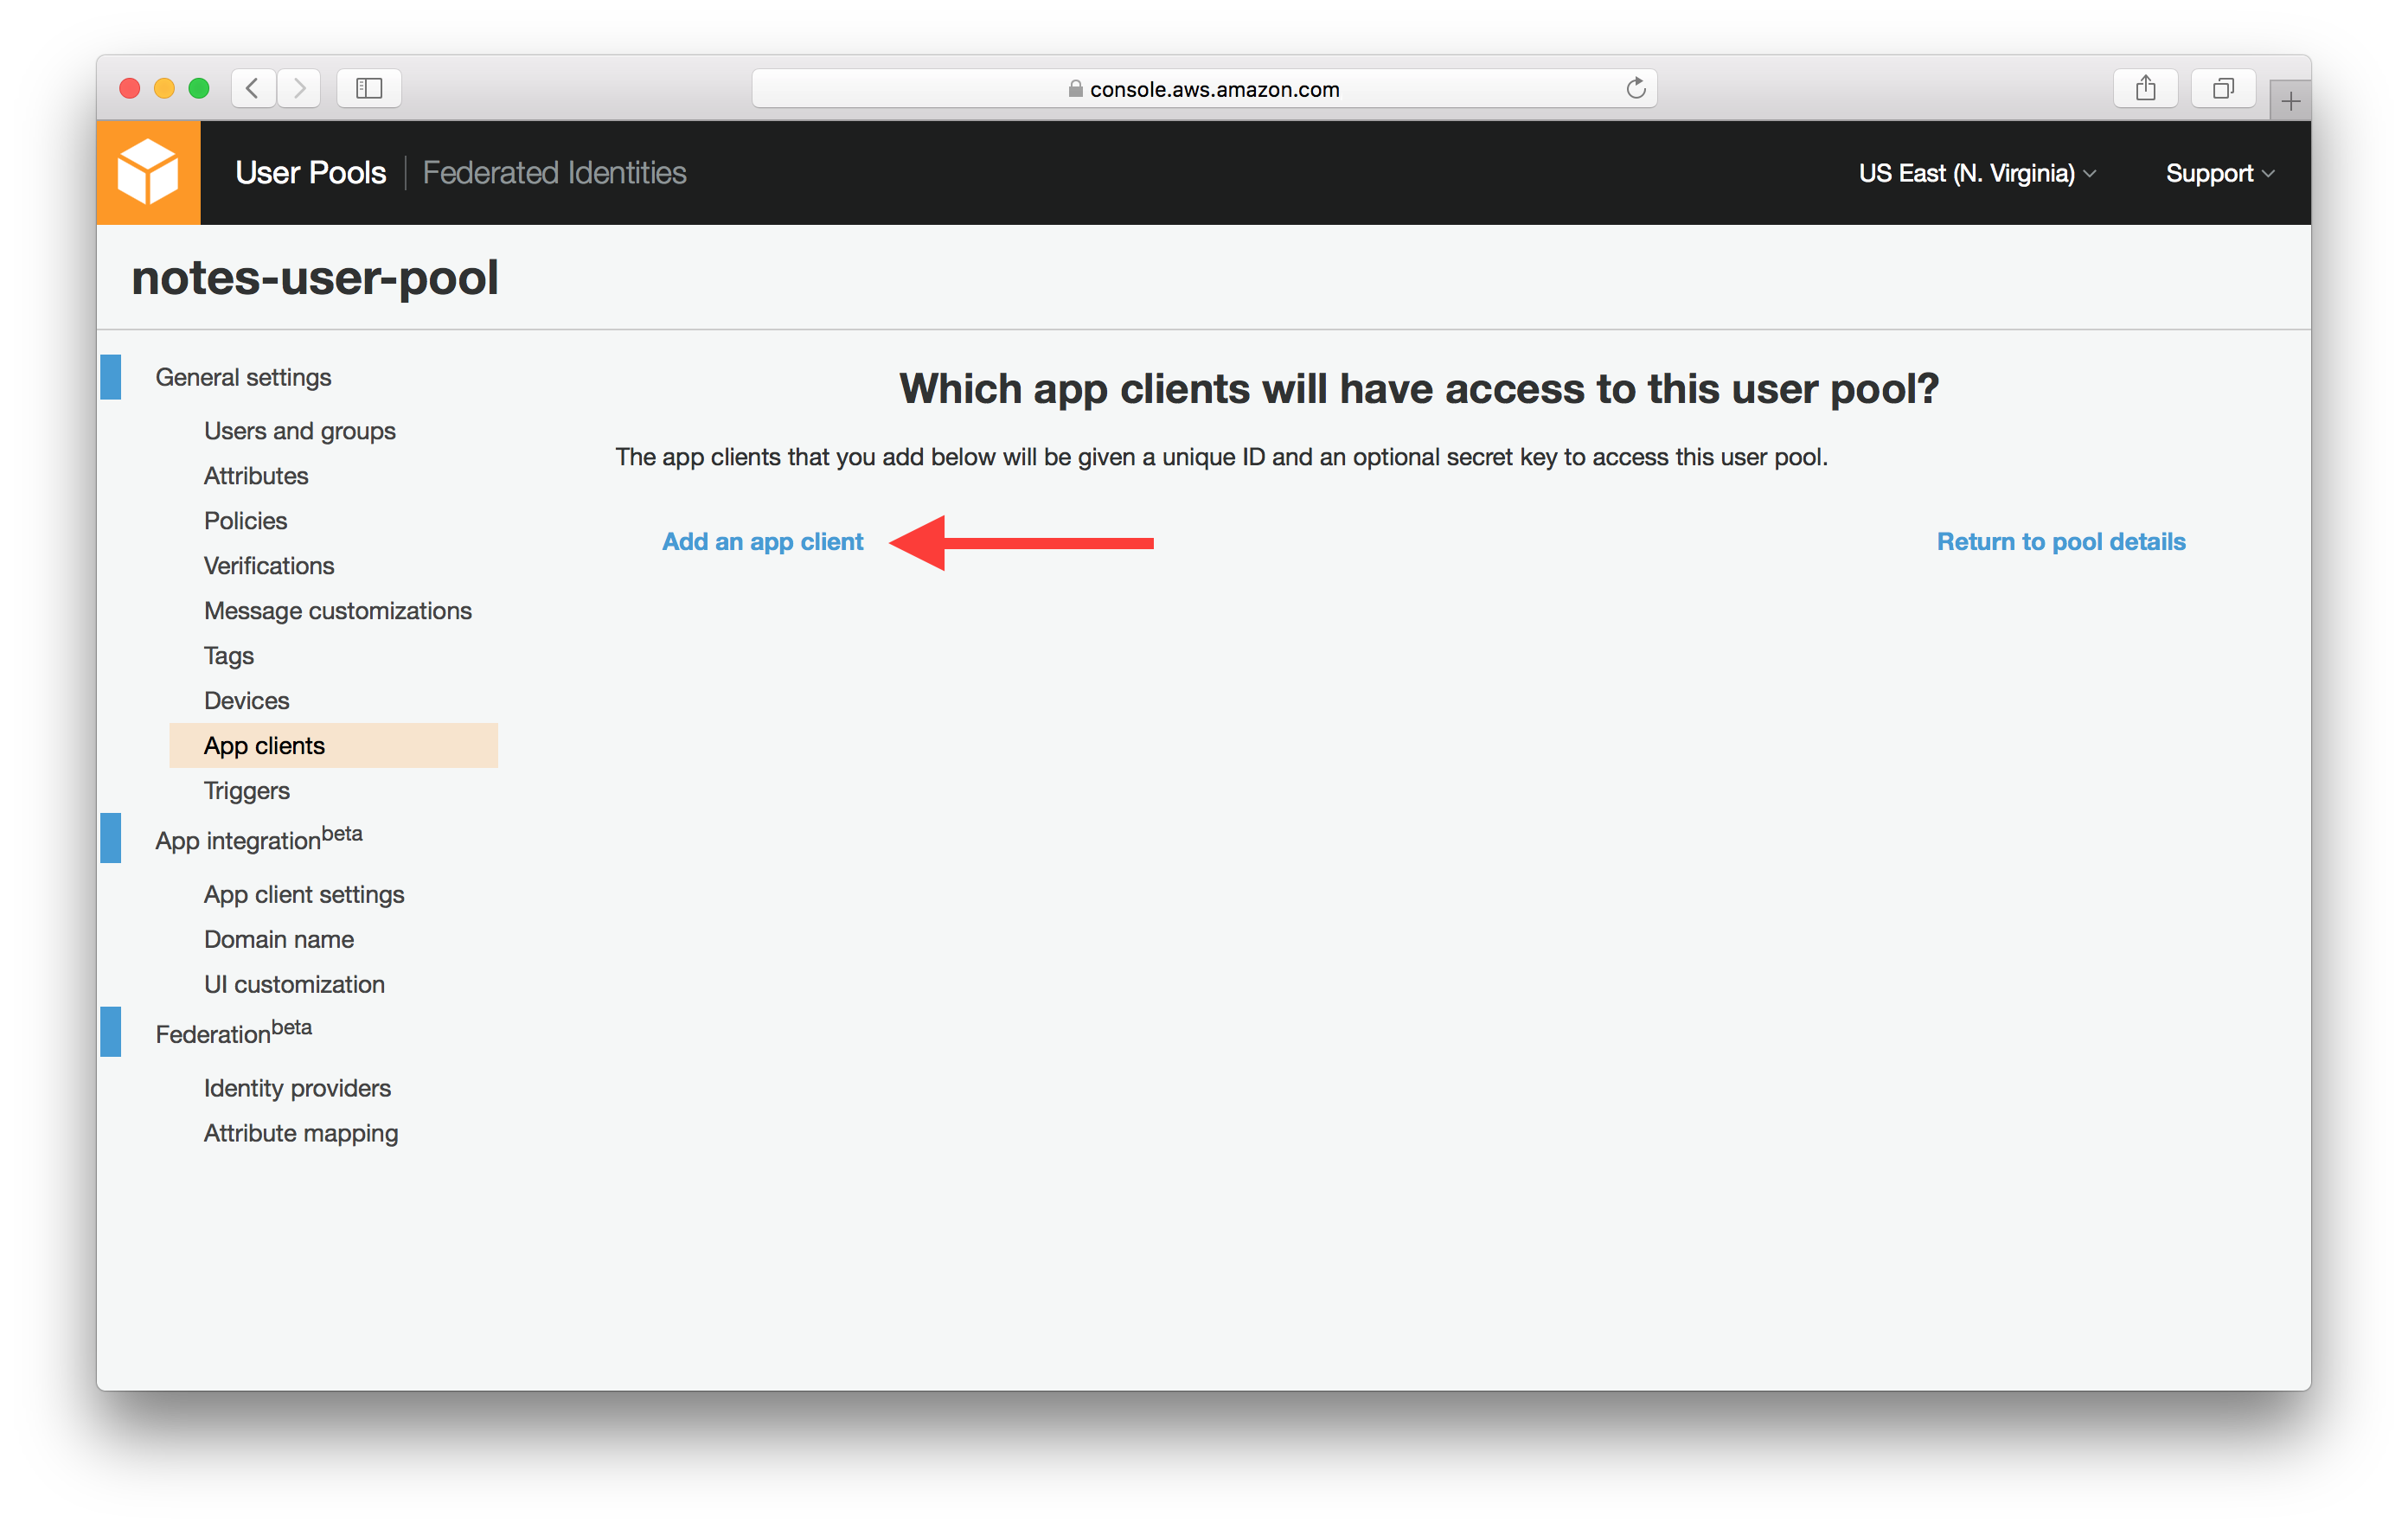
Select Add an app client.
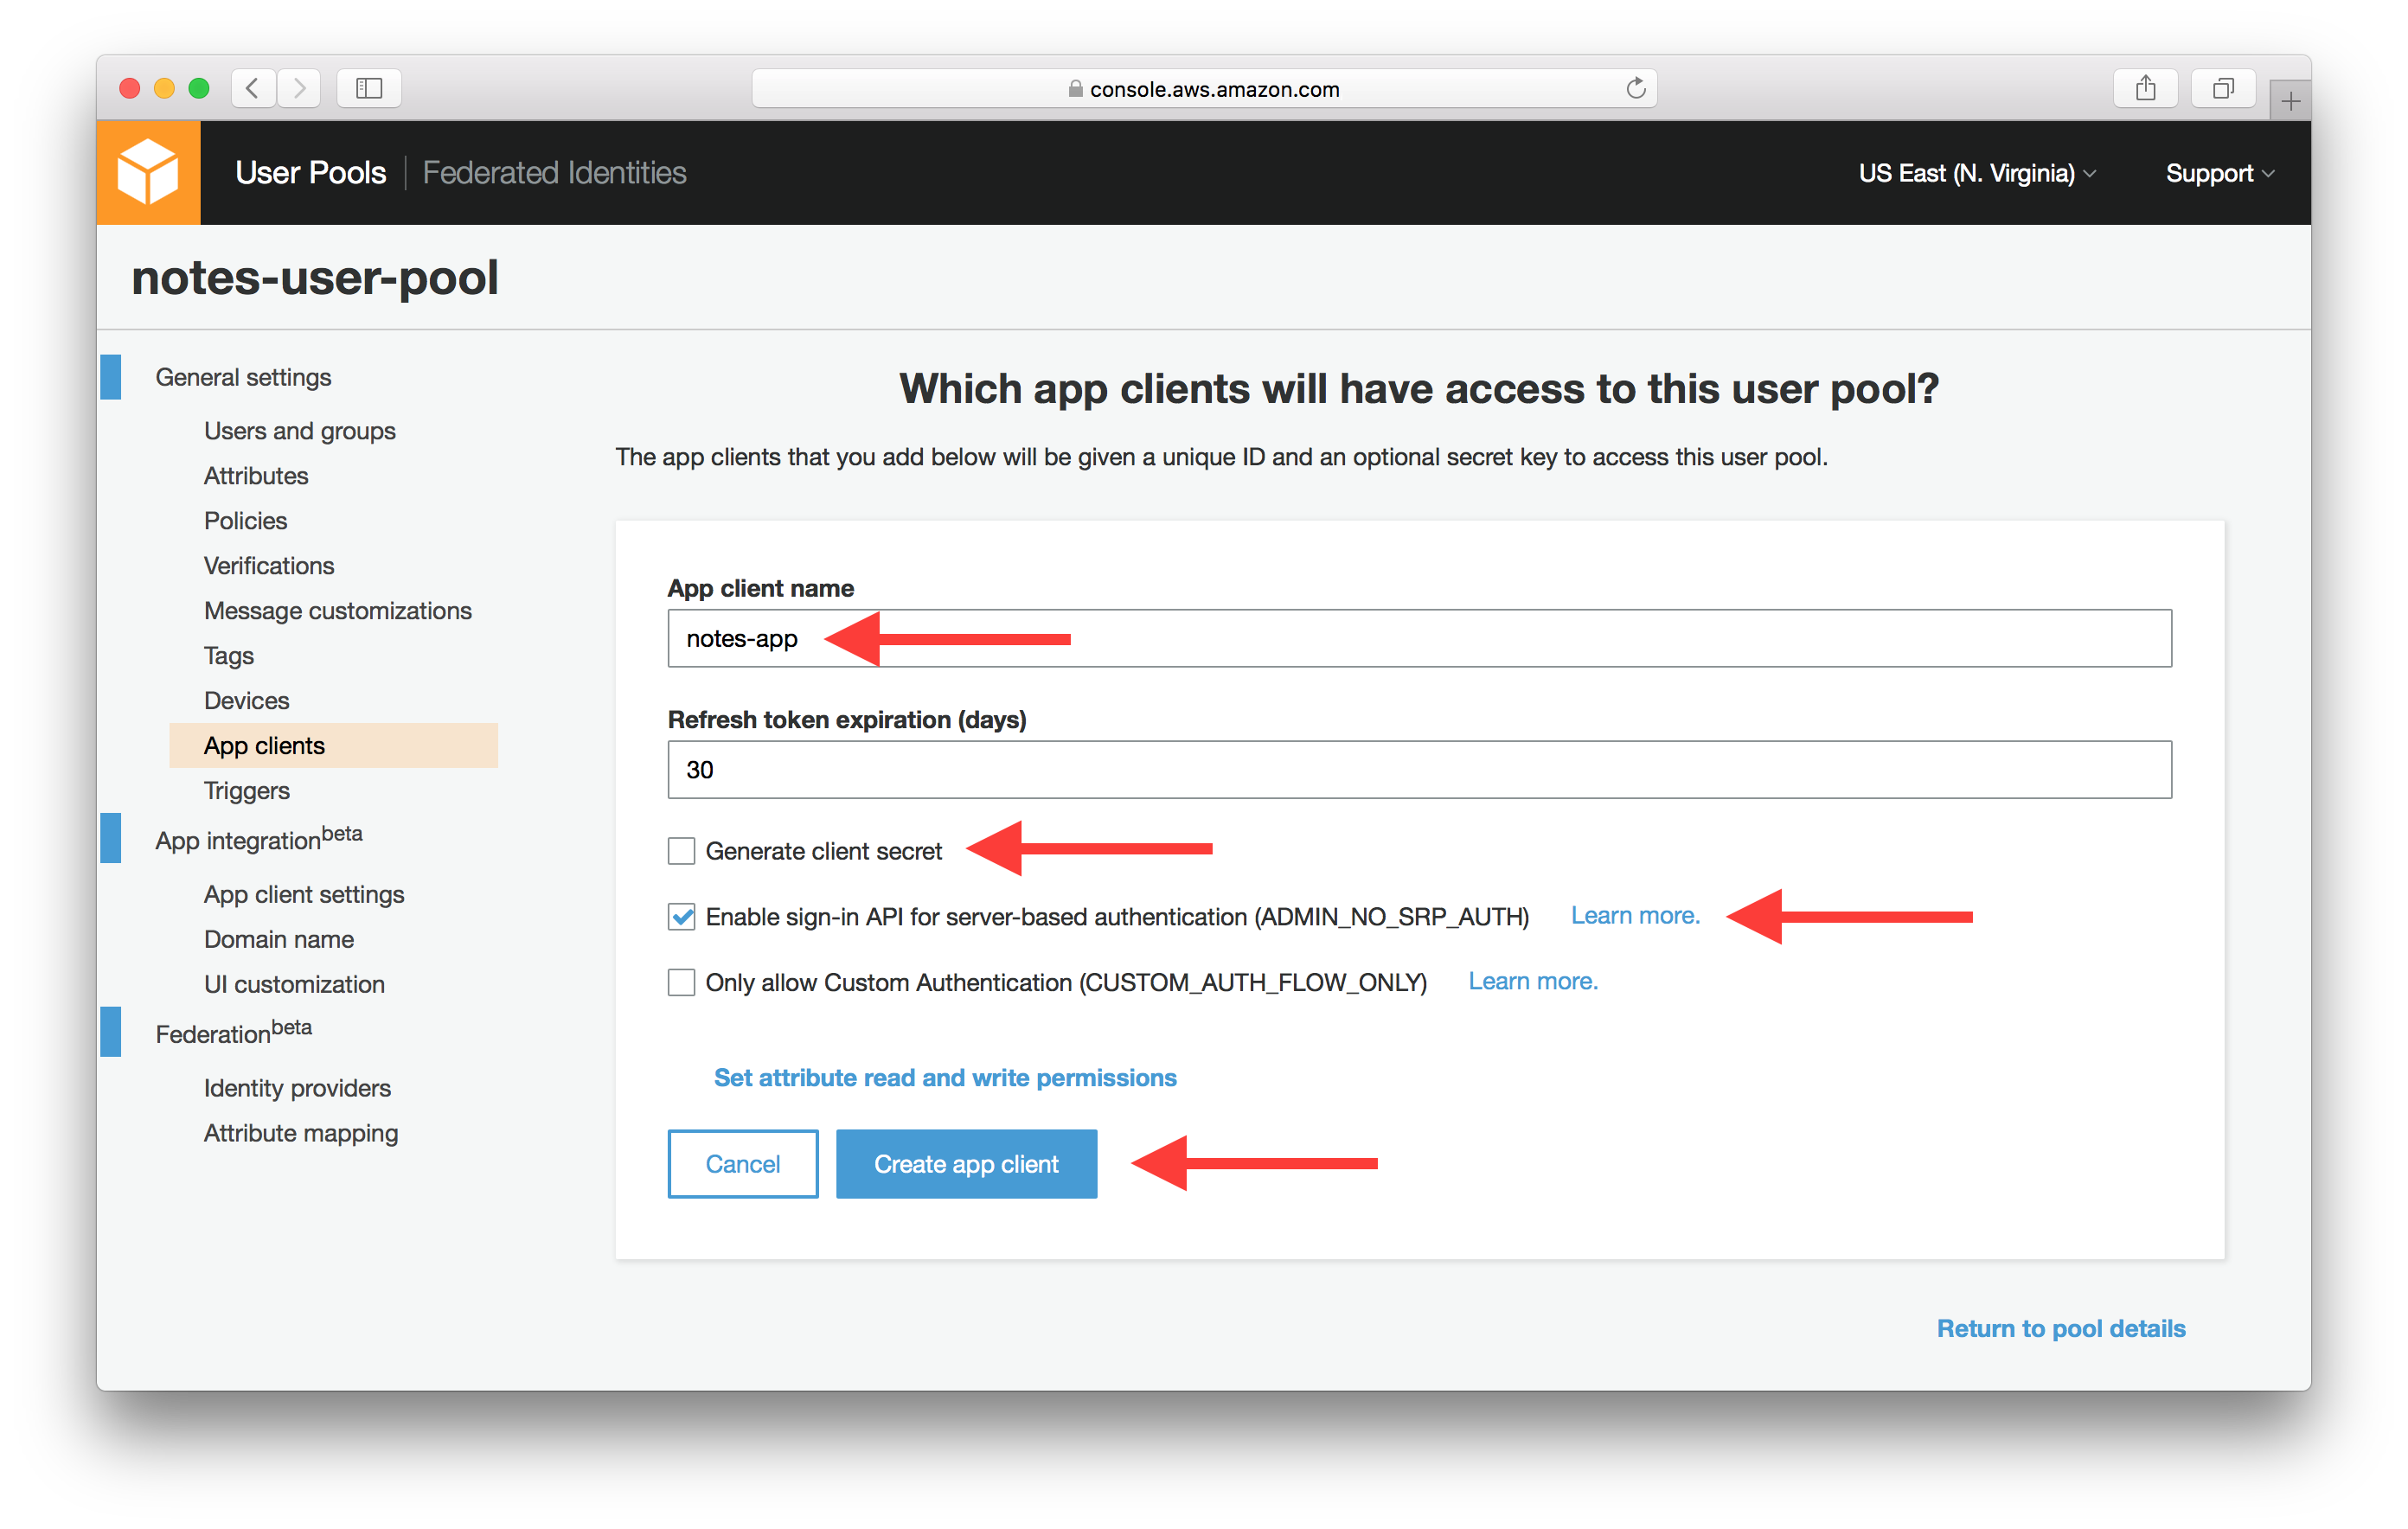
Enter App client name, un-select Generate client secret, select Enable sign-in API for server-based authentication, then select Create app client.
- Generate client secret: user pool apps with a client secret are not supported by JavaScript SDK. We need to un-select the option.
- Enable sign-in API for server-based authentication: required by AWS CLI when managing the pool users via command line interface. We will be creating a test user through command line interface in the next chapter.
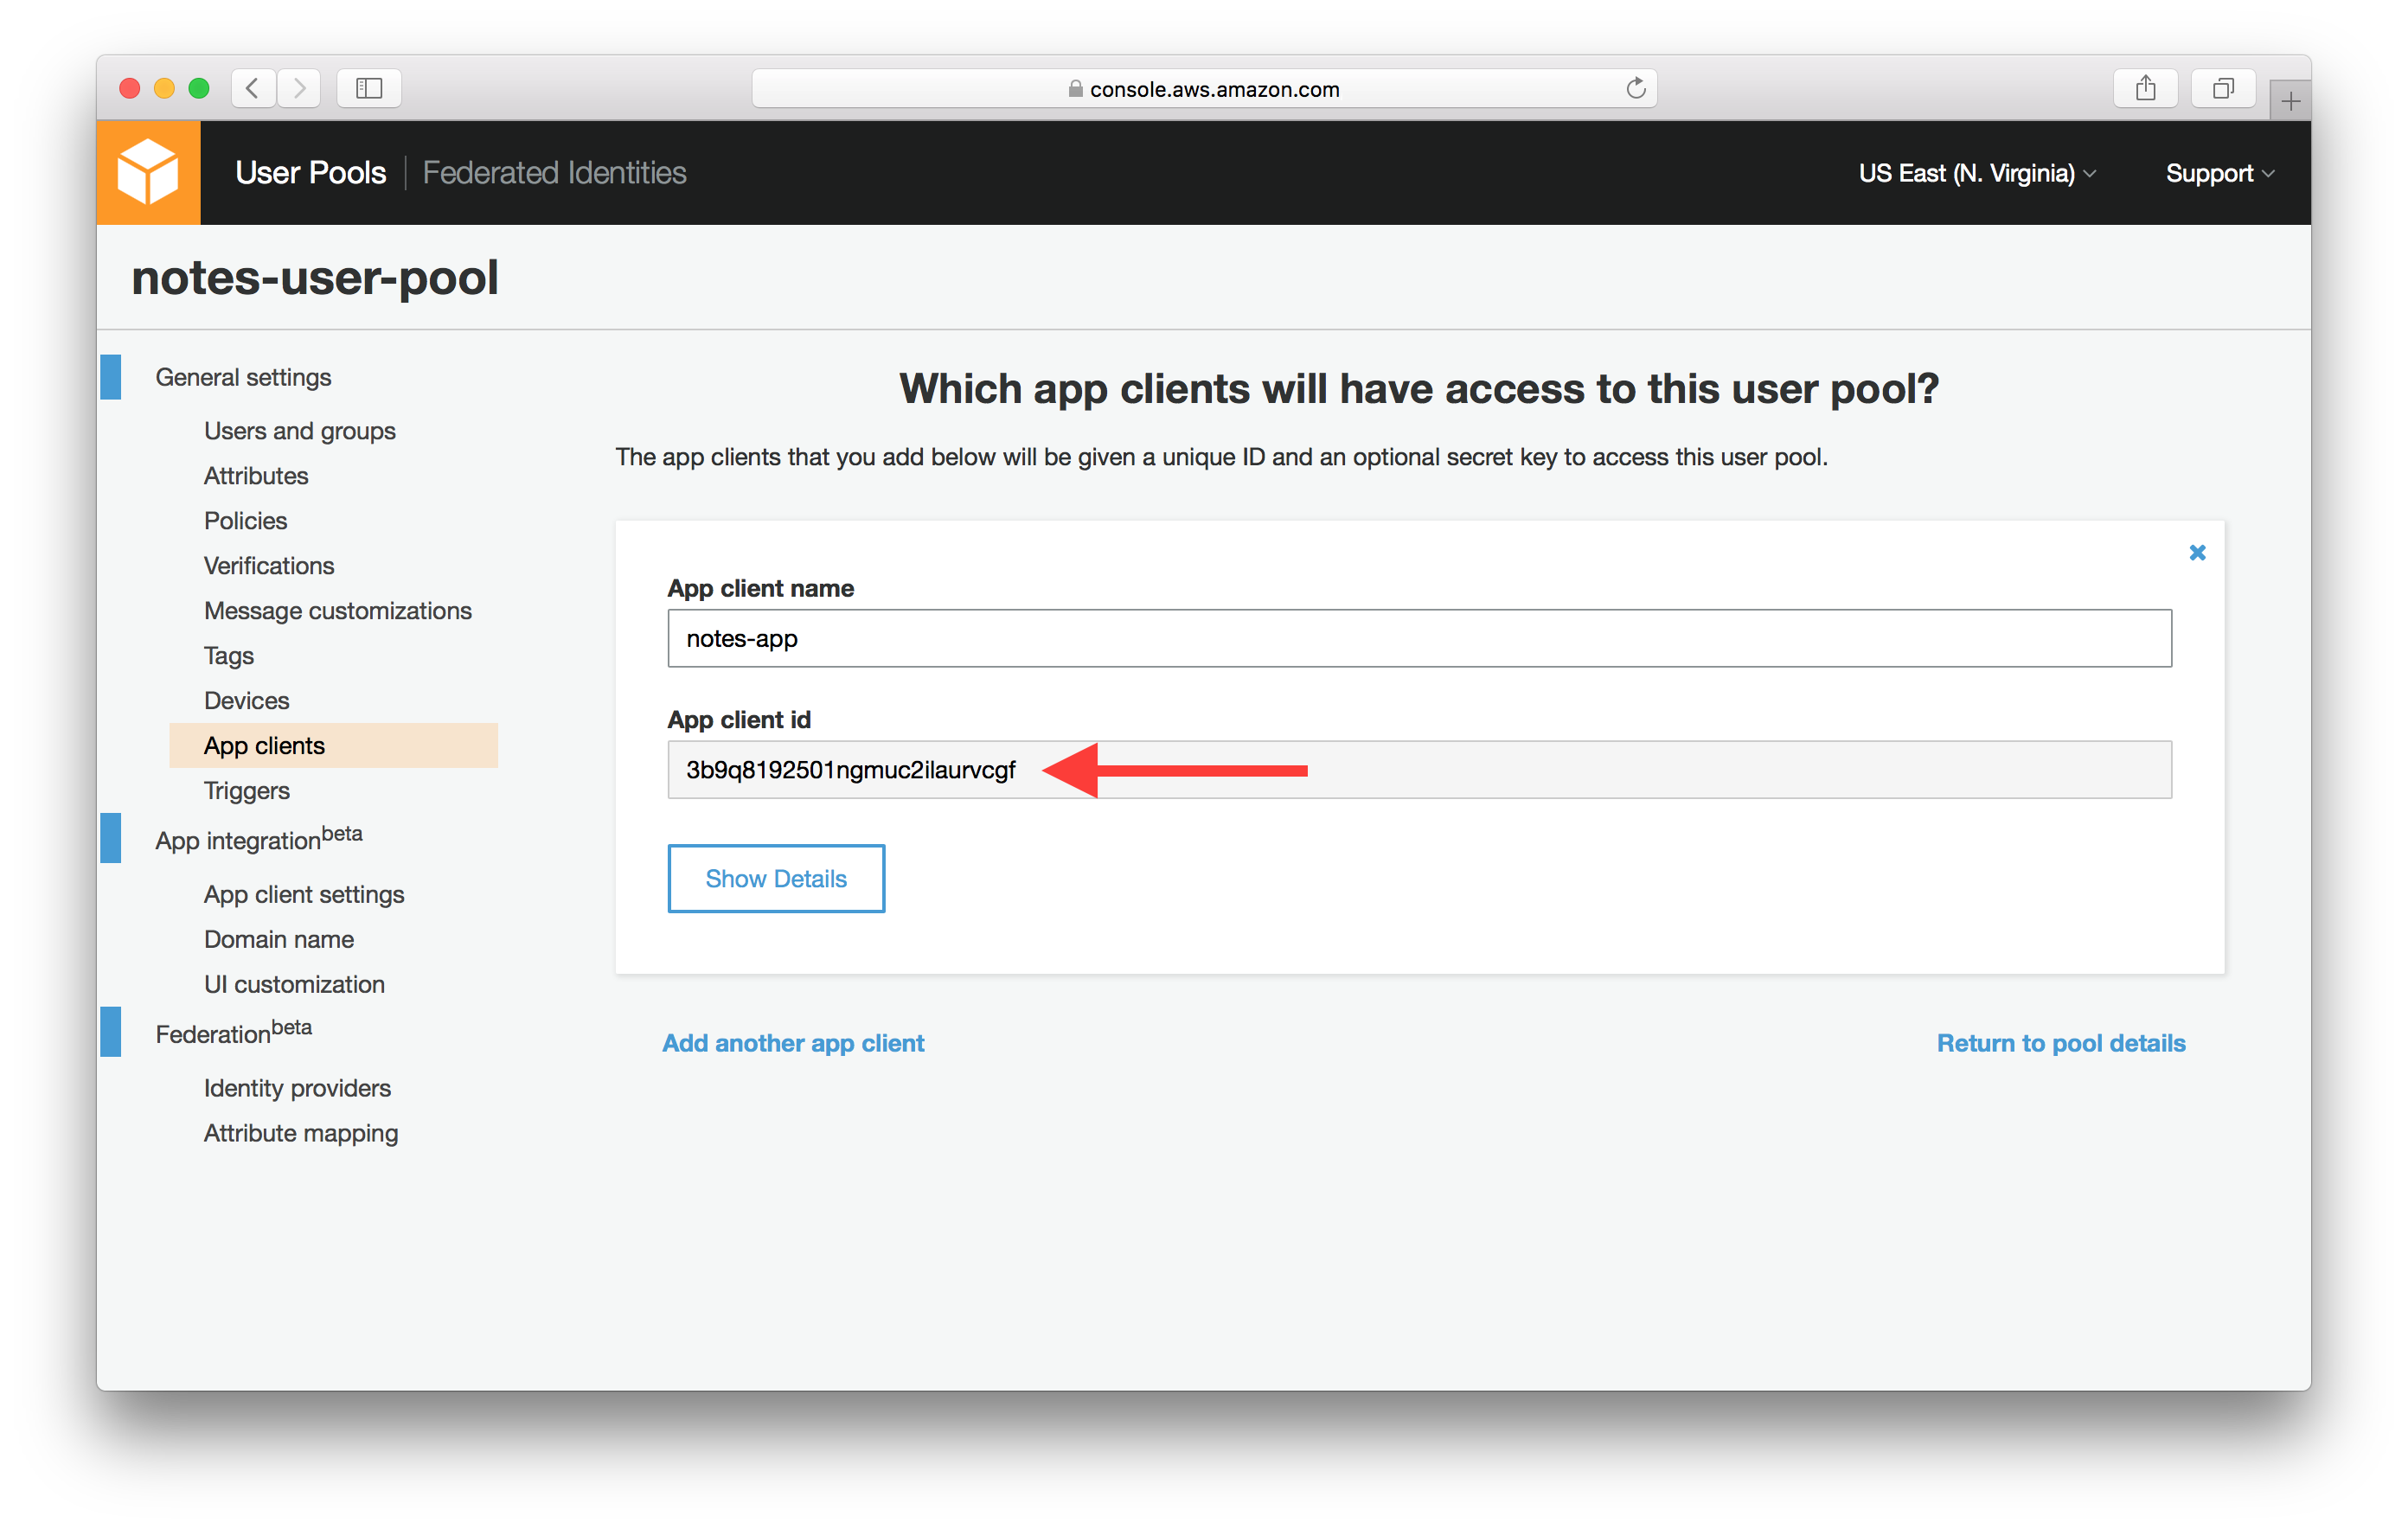
Now that the app client is created. Take a note of the App client id which will be required in the later chapters.
Create Domain Name
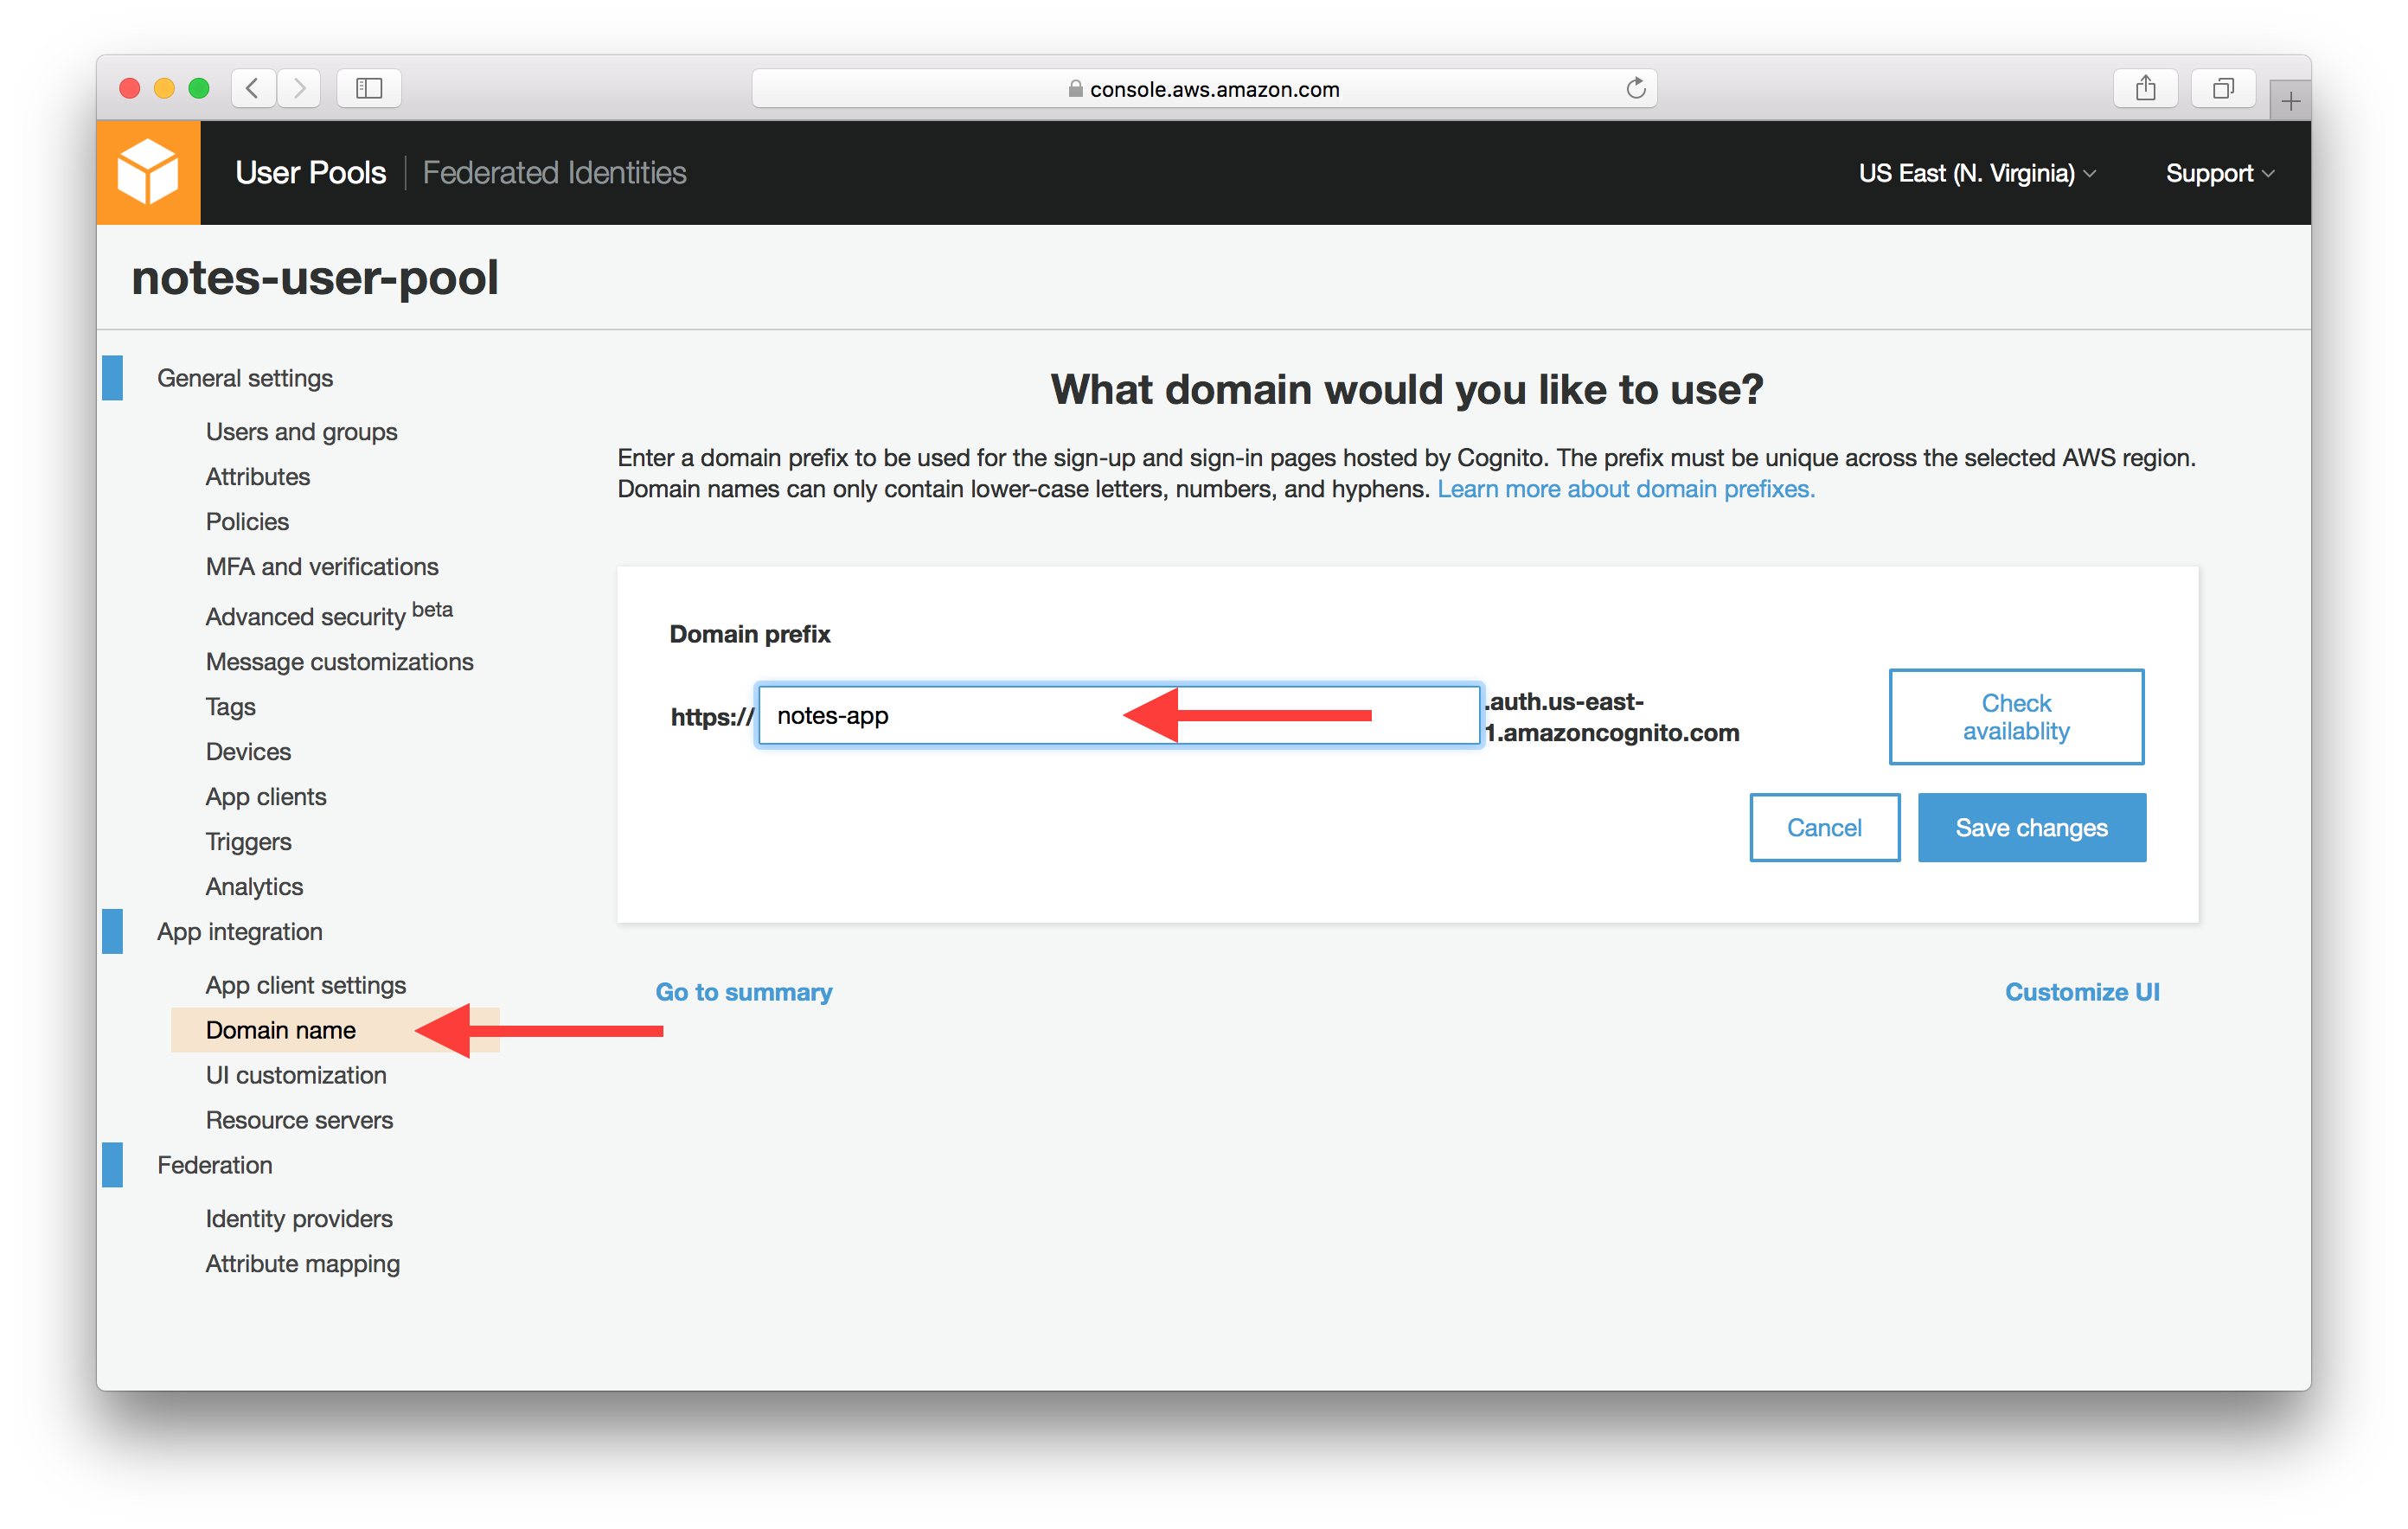
Finally, select Domain name from the left panel. Enter your unique domain name and select Save changes. In our case we are using notes-app.
Now our Cognito User Pool is ready. It will maintain a user directory for our notes app. It will also be used to authenticate access to our API. Next let’s set up a test user within the pool.
If you liked this post, please subscribe to our newsletter, give us a star on GitHub, and chat to our Bot.
For help and discussion
Comments on this chapter